Key Takeaways
-
Dirty pavers trap debris under sealer, causing hazy, patchy finishes – proper cleaning ensures the sealer bonds evenly and lasts for years.
-
Always use a fan-tip pressure washer setting, never a narrow jet, to avoid gouging pavers or blasting out polymeric joint sand.
-
Wait at least one full sunny day after rinsing before sealing, and allow 30 days for new polymeric sand to cure before applying sealer.
-
Use cat litter to absorb oil stains overnight, then scrub with a paver-safe degreaser – this pre-treatment prevents hours of scrubbing during washing.
-
Apply cleaner at 6 ounces per gallon of water, let it sit 5-10 minutes without drying, then rinse completely to remove all residue that could cause cloudiness.
-
Old flaking sealer must be completely stripped with a surface cleaner or chemical stripper before resealing; muriatic acid risks permanent discoloration if misused.
So you’re finally ready to seal those pavers. Good for you! Sealing is one of the best things you can do to protect your patio, driveway, or pool deck here in Florida. But here’s the thing nobody tells you upfront: sealing over dirty pavers is like painting over a dusty wall. It just won’t stick right, and you’ll end up frustrated with a hazy, patchy mess instead of that clean, glowing finish you were hoping for. The good news? Cleaning pavers before sealing isn’t complicated once you know the right order of steps. In this guide, we’ll walk you through exactly how to clean pavers before sealing, step by step, so your sealer bonds properly and lasts for years. We’ll also talk about when a DIY approach makes sense and when it’s smarter to bring in a mobile blasting crew who does this for a living. Grab a cold drink, and let’s get your pavers ready for their glow-up.
Why Cleaning Pavers Before Sealing Actually Matters
Think of your paver sealer as a coat of paint for your patio. Paint doesn’t stick to grease, dust, or old flaking paint underneath it. Sealer works the same way. If there’s dirt, mildew, old sealer residue, or mineral buildup sitting on the surface, the new sealer will trap it right underneath, creating a hazy or blotchy look that nobody wants.
Florida weather makes this extra important. Our humidity, heavy rains, and pool chemicals leave behind grime and mineral deposits faster than in drier climates. Skipping proper cleaning is one of the most common mistakes homeowners make, right alongside rushing the drying time before sealing.
5 Steps to Clean Pavers Before Sealing the Right Way
Here’s the full process, broken into five clear steps. Follow these in order, and you’ll set yourself up for a smooth, even seal every time.
1. Clear Off Debris and Loose Dirt
Start simple. Sweep away leaves, twigs, sand, and loose dirt with a stiff broom or leaf blower. This step feels obvious, but skipping it means you’re just pushing mud around later with a hose. A clean starting surface makes every step after this one easier and faster.
2. Treat Stains Before You Wash
Oil stains, rust spots, and mildew patches need special attention before general cleaning. For oil stains, pour cat litter over the spot and let it sit overnight to soak up the grease. In the morning, sweep it away and scrub the area with a paver-safe degreaser. This little trick works surprisingly well and saves you from scrubbing forever.
3. Wash With the Right Cleaner and Pressure Washer Setting
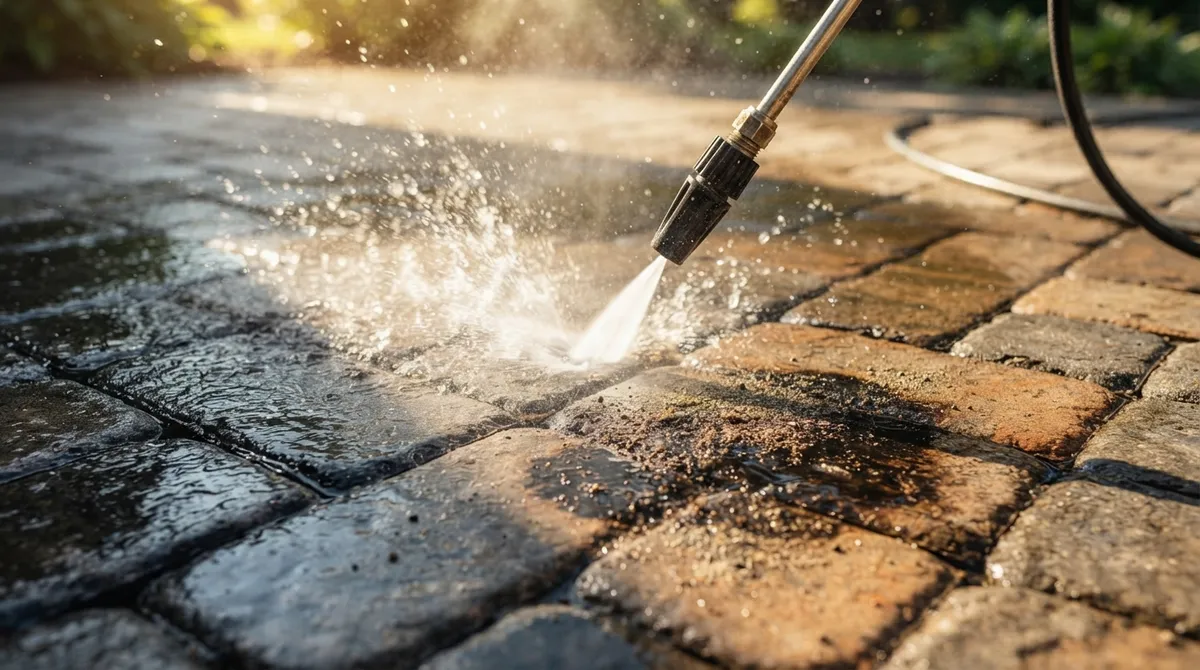
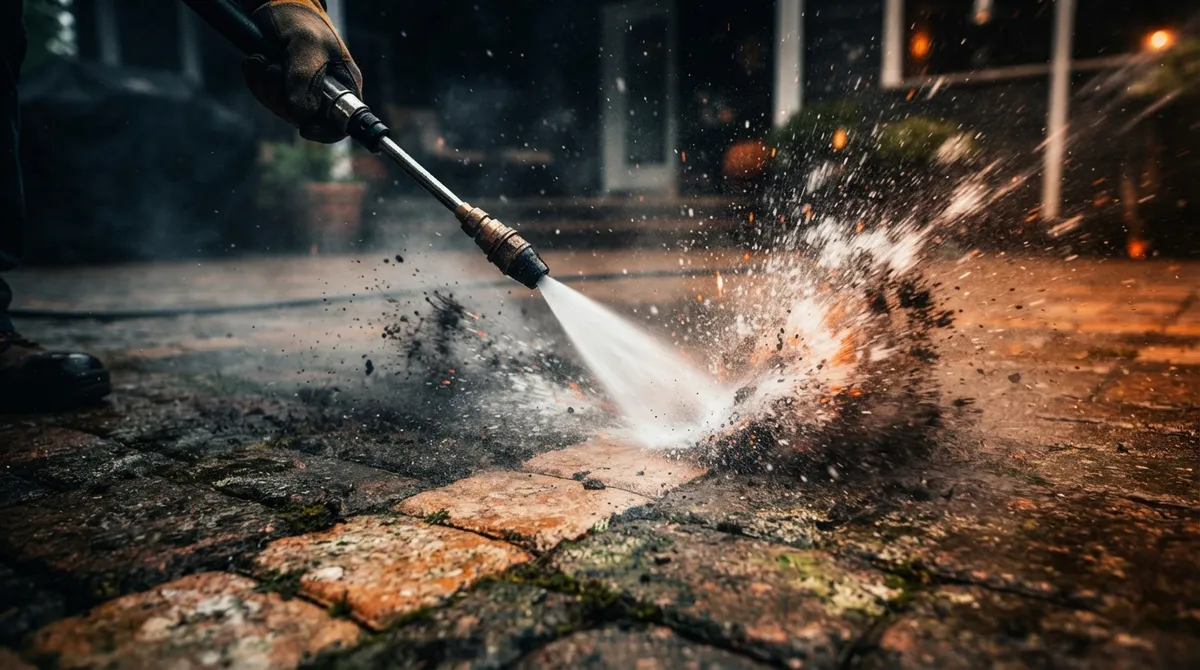
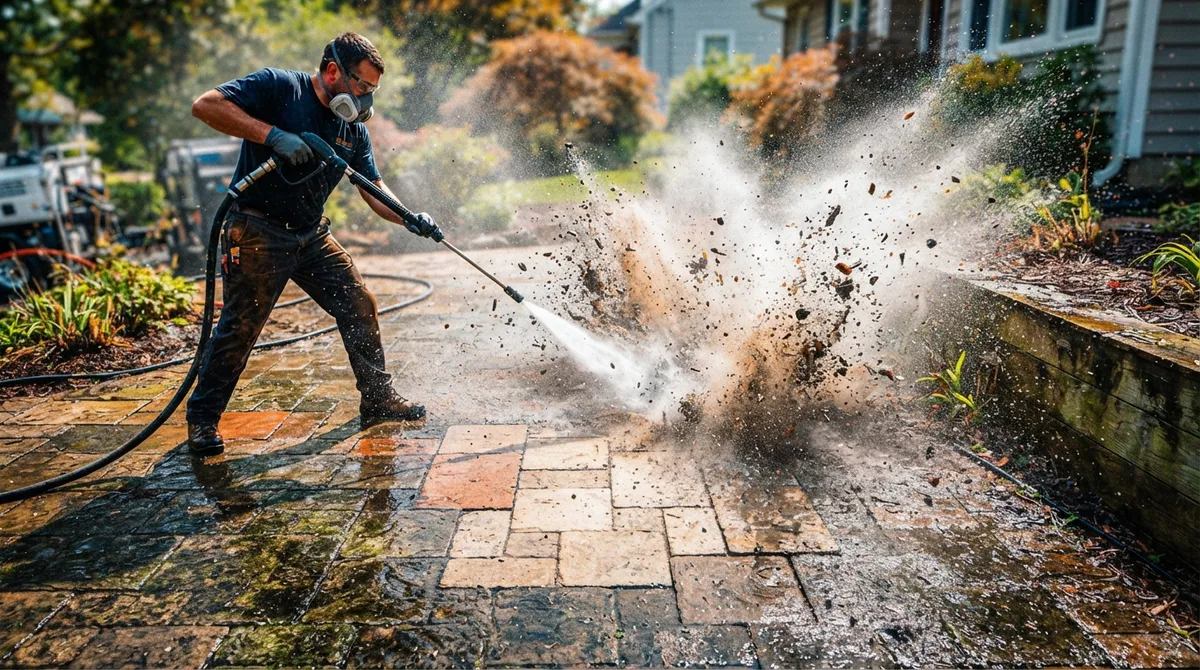
Now it’s time for the real cleaning. If you’re using a pressure washer, always use the fan setting, never a narrow jet. A narrow spray can gouge the paver surface or blast out your joint sand, leaving gaps that invite weeds and ants. Apply your cleaning solution and let it sit for 5 to 10 minutes, but don’t let it dry out on the surface. A good rule of thumb is 6 ounces of cleaner per gallon of water for most commercial paver cleaners, and surface temperatures should sit between 40°F and 90°F for the chemicals to work properly.
4. Tackle Efflorescence and Old Sealer Residue
See white, chalky patches on your pavers? That’s efflorescence, a mineral deposit that rises up through the concrete. It needs a specialized diluted cleaner made for this exact problem. Apply it with heavy water saturation to protect your polymeric sand from breaking down. If your pavers still have old sealer flaking or peeling, that has to be stripped completely with a surface cleaner or dedicated stripping chemical before anything new goes on top. Some homeowners reach for muriatic acid here, but be extremely cautious. Used improperly, it can cause serious discoloration and permanent damage to the paver surface.
5. Rinse Thoroughly and Let It Dry Completely
Rinse every trace of cleaner off the pavers. Any leftover residue will react with the sealer and cause a cloudy haze across your whole patio. Once rinsed, your pavers need to be bone dry before sealing begins. Plan on waiting at least one full sunny day after cleaning, and if you had to replace any joint sand, give polymeric sand a full 30 days to cure before sealing. Rushing this step is the number one reason sealer jobs turn hazy or peel early.
Quick Reference: Cleaning Timeline and Conditions
| Step | Detail | Recommended Timing/Ratio |
|---|---|---|
| Surface Temperature | Ideal range for applying cleaner | 40°F to 90°F |
| Cleaner Dilution | Example: Sureclean mixture | 6 oz cleaner per 1 gallon water |
| Dwell Time | Cleaner sitting on surface | 5 to 10 minutes, don’t let it dry |
| Drying Before Sealing | Wait after final rinse | At least 1 full sunny day |
| Polymeric Sand Cure | If sand was replaced | 30 days minimum |
| Sealer Dry Time | Dry to touch / fully cured | 1 hour / 24 hours |
Common Paver Problems and How to Handle Them
Not every paver cleaning job is the same. Some patios just need a light rinse, while others have years of buildup that need serious attention. Here’s a quick breakdown of common issues homeowners run into.
- Oil and grease stains: Absorb overnight with cat litter, then scrub with a degreaser.
- Efflorescence (white haze): Use a specialized diluted cleaner with heavy water saturation.
- Old, flaking sealer: Strip completely with a surface cleaner or stripping chemical before resealing.
- Mildew and algae: Treat with a mild bleach solution or commercial mildew remover, then rinse well.
- Rust stains from furniture: Use a rust-specific paver cleaner, never straight muriatic acid.
- Weeds and ants in joints: Clear joints fully and refill with fresh polymeric sand before sealing.
DIY Cleaning vs. Professional Mobile Blasting
Plenty of homeowners handle light paver cleaning themselves, and that’s perfectly fine for smaller patios with minimal buildup. But when you’re dealing with years of grime, thick old sealer, or a large pool deck, a pressure washer alone can take all weekend and still leave uneven results.
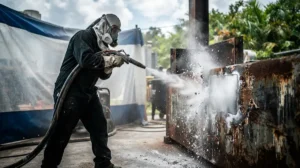
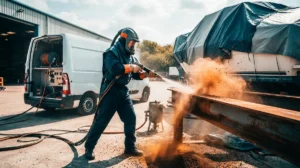
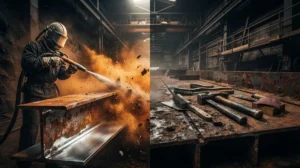
This is where residential mobile blasting comes in. Instead of scrubbing and soaking for hours, a soda or dustless blasting method can strip old sealer, stains, and buildup evenly across the whole surface in a fraction of the time. It’s gentler than people expect too, since the media is matched to the surface instead of blasting everything with the same harsh pressure. If you want to understand the science behind it, what is sandblasting is a great place to start.
Signs You Should Call in a Pro
- Old sealer is peeling or flaking across large areas.
- Efflorescence keeps coming back no matter how much you clean.
- Your pool deck has years of sunscreen, oil, and algae buildup.
- You’re on a tight timeline before an event or sale.
- DIY cleaning left the surface blotchy or uneven.
We’ve seen these exact situations across Tampa, Clearwater, Sarasota, and out toward Ocala and Orlando. It’s a common story: a homeowner tries to tackle a decade of buildup with a rented pressure washer, only to end up with a patchy patio and a sore back. That’s usually when we get the call.
What Makes Mobile Blasting Different for Paver Prep
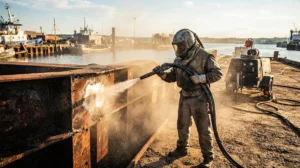
Traditional pressure washing relies on water pressure alone, which can miss deep stains or damage joint sand if it’s too strong. Mobile blasting uses the right media for the job, whether that’s soda, sand, or a dustless method, to lift grime and old coatings without gouging the paver surface. We come to you, fully mobile and self-contained, so there’s no need for your power or water hookup.
We contain the mess and protect the surrounding area, including your pool, landscaping, and windows, before we start. The goal is always the same: leave the surface clean and ready for the next step, whether that’s sealing, resurfacing, or just enjoying a fresh-looking patio again.
| Method | Best For | Watch Out For |
|---|---|---|
| Pressure Washing | Light dirt, small patios | Fan tip only; can damage joints if misused |
| Chemical Cleaners | Efflorescence, stains, old sealer | Dwell time and dilution ratios matter |
| Soda/Dustless Blasting | Heavy buildup, large areas, old sealer stripping | Best left to trained professionals |
A Simple Checklist Before You Seal
Before you crack open that can of sealer, run through this quick checklist. It only takes a minute, but it can save you a full weekend of redoing the job.
- All debris, dirt, and stains removed
- Old sealer fully stripped, not just scrubbed
- Efflorescence treated with the correct cleaner
- Surface rinsed completely, no cleaner residue left
- Joint sand replaced and cured for 30 days if needed
- Pavers completely bone dry, with at least one full sunny day passed
Check every box, and you’re in great shape to seal with confidence.
Why This Prep Work Pays Off Long Term
A little extra effort now saves a lot of headache later. Sealer applied over a properly cleaned surface bonds evenly, resists hazing, and holds up far longer against Florida’s sun and storms. Skipping steps might save an afternoon today, but it usually means redoing the whole job within a year or two. We’ve talked before about how proper prep applies across all kinds of surfaces, from pool decks getting ready for resurfacing to full patio restorations. The principle is always the same: clean, dry, and ready before anything new goes on.
If your pavers still have paint splatters or old coatings mixed in with the grime, it’s worth reading up on safe ways to strip paint from brick or pavers before you start scrubbing. And if you’re comparing methods for other outdoor concrete surfaces, our breakdown on sandblasting versus pressure washing for concrete is a helpful next read.
Serving Homeowners Across Central Florida
We’re based in Tampa, but we travel throughout the central Florida corridor for the right job, including Clearwater, Sarasota, Ocala, Orlando, and Fort Myers. Bay-area towns like Brandon, Riverview, Plant City, Lutz, and St. Pete keep us busy too. Whatever your zip code, if your pavers need real cleaning before sealing, we’re happy to take a look.
Curious what past customers think? You can visit us on Google and see what our customers are saying about us before you decide who to trust with your patio. We’re fully insured, and when you call, you talk to the people actually doing the work, not a call center reading from a script.
Ready for a Clean, Sealed Patio?
Cleaning pavers before sealing doesn’t have to be a guessing game. Follow the five steps above, respect the drying times, and you’ll get a sealer job that looks great and lasts. But if your patio has years of stubborn buildup, old peeling sealer, or stubborn efflorescence that won’t quit, it might be time to bring in the pros. Our gallery shows real before-and-after results from jobs just like yours, and our service areas page covers where we work across the state. Ready to get that patio prepped right the first time? Get a free estimate today, or give us a call to talk through your project. We’re looking forward to helping your pavers look their best.
FAQs
Q: Do I need to strip old sealer before sealing pavers?
A: Yes, absolutely! Old or failing sealer has to come off completely before you add a fresh coat. If you skip this step, the new sealer won’t bond right and you’ll end up with a patchy, peeling mess in no time.
Q: How long do pavers need to dry before sealing after pressure washing?
A: Give it at least one full sunny day after washing before you even think about sealing. Pavers need to be totally bone dry, and if you replaced any joint sand, that sand needs a full 30 days to cure first.
Q: What is the best cleaner for efflorescence on pavers before sealing?
A: Look for a specialized diluted cleaner made specifically for efflorescence, and apply it with heavy water saturation. This protects your polymeric sand while still breaking down those chalky white mineral deposits.
Q: Can I use muriatic acid to clean pavers before sealing?
A: You can, but tread very carefully here. Muriatic acid needs proper dilution and careful handling, because used wrong it can cause serious discoloration and permanent damage to your pavers.
Q: What pressure washer setting is safe for cleaning pavers?
A: Always stick with the fan setting, never a narrow jet. A concentrated spray can gouge the paver surface or blast out your joint sand, and neither of those is a fun fix.