Key Takeaways
-
Use soft, gentle media like walnut shell or corn cob instead of hard mineral abrasives when blasting wood, starting at 35-60 psi and always testing on a small patch first to avoid fuzzy grain or fiber damage.
-
Wood surface preparation removes failing paint, stain, and weathered fibers without damaging sound wood underneath, which is critical because wood fibers are soft and easily damaged compared to metal or concrete.
-
Always identify coating age and type before blasting—paint built before 1978 may contain lead, requiring proper containment, barriers, and respiratory protection to meet OSHA exposure limits.
-
Not all wood projects require blasting; light cleaning may work with a wash or gentle sanding, while blasting excels for failing paint, thick buildup, or extensive weathering that hand tools can’t handle efficiently.
-
After blasting, remove all spent media and dust, inspect for damage, check wood moisture levels, and allow proper drying time based on humidity and coating requirements before painting or staining to ensure finish durability.
-
Abrasive blasting produces significant dust and noise; dustless blasting techniques and experienced crews with proper dust control are essential, especially near homes or shared property lines, to minimize respiratory hazards.
Got a wood deck, fence, or piece of siding that’s seen better days? You’re not alone. Every week, we hear from homeowners across Tampa Bay who are staring at peeling paint or faded stain, wondering how to get their wood looking fresh again. Good news: wood surface preparation done right can bring tired wood back to life without tearing up the grain underneath.
Here at Blastworx, we’ve spent years learning how wood behaves under a blaster’s nozzle. Wood isn’t like steel or concrete. It’s soft, it’s alive in a way, and it deserves a gentler touch. This guide walks you through seven things you need to know before anyone blasts your wood, whether it’s a porch railing, an old dock, or your home’s exterior trim. Let’s get into it.
1. Understand What Wood Surface Preparation Actually Means
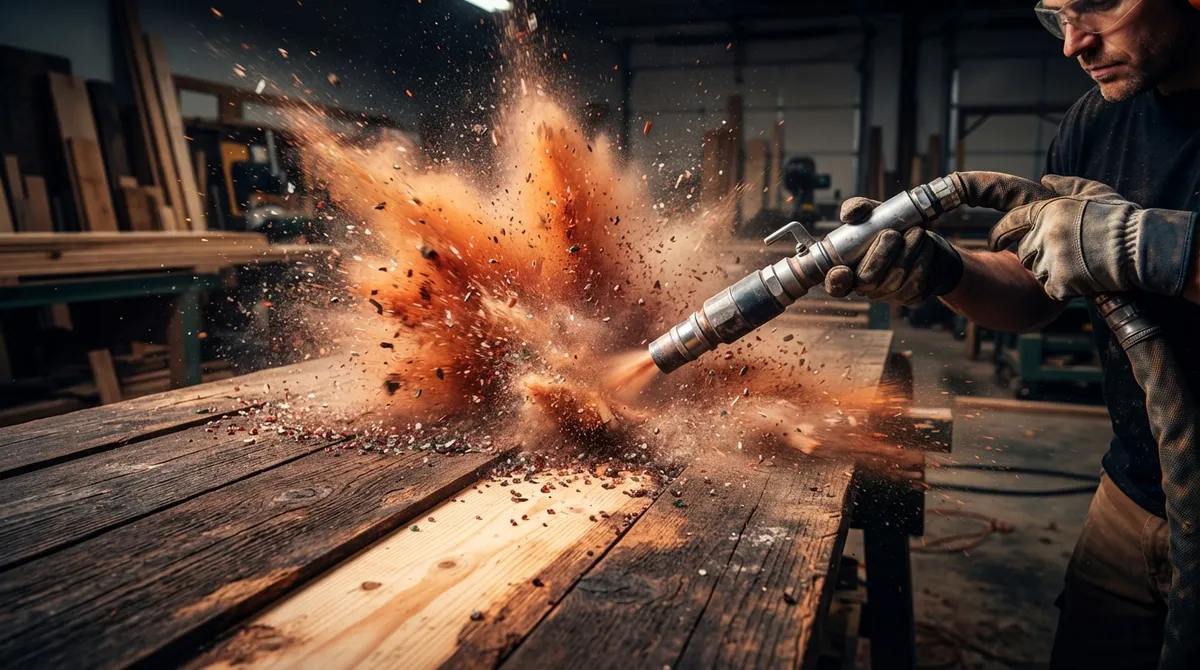
In our line of work, wood surface preparation is about removing the stuff that’s ruining your wood’s look, without hurting the wood itself. That means stripping off failing paint, old stain, dirt, mildew stains, and weathered fibers. The goal is simple: expose clean, sound wood so your next coat of paint or stain actually sticks and lasts.
This is different from blasting metal or concrete. With wood, we’re not trying to be aggressive. We’re trying to be precise. Think of it like peeling an onion, one thin layer at a time, instead of ripping the whole thing apart. Done well, wood surface preparation saves the good wood underneath and sets up your refinishing job for success.
2. Know Why Wood Is Easy to Damage
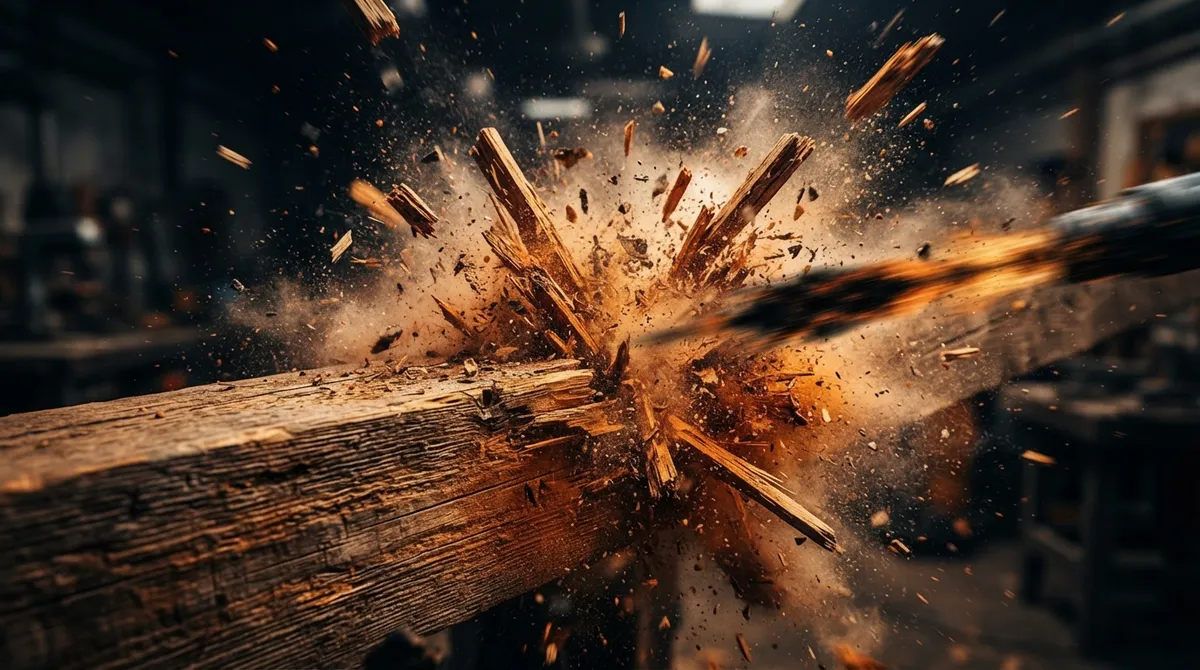
Wood fibers are soft compared to metal or masonry. Blast too hard, hold the nozzle in one spot too long, or use the wrong media, and you’ll erode the surface fast. This shows up as fuzzy, raised grain or uneven patches that look worse than the peeling paint you started with.
That’s why professionals always test first. A small test patch tells us how the wood reacts before we commit to the whole surface. We start with low pressure and keep the nozzle moving constantly. If the wood starts looking rough or fibers start lifting, we back off immediately and adjust our approach.
Here’s what we watch for during every job:
- Grain raising or fuzzing on the surface
- Uneven color or texture across the board
- Soft spots that blast away faster than surrounding wood
- Old nail holes or knots that behave differently under pressure
If you want to see how this plays out on a real deck project, check out our post on whether you can sandblast a wood deck without damaging it.
3. Choose the Right Media for Wood
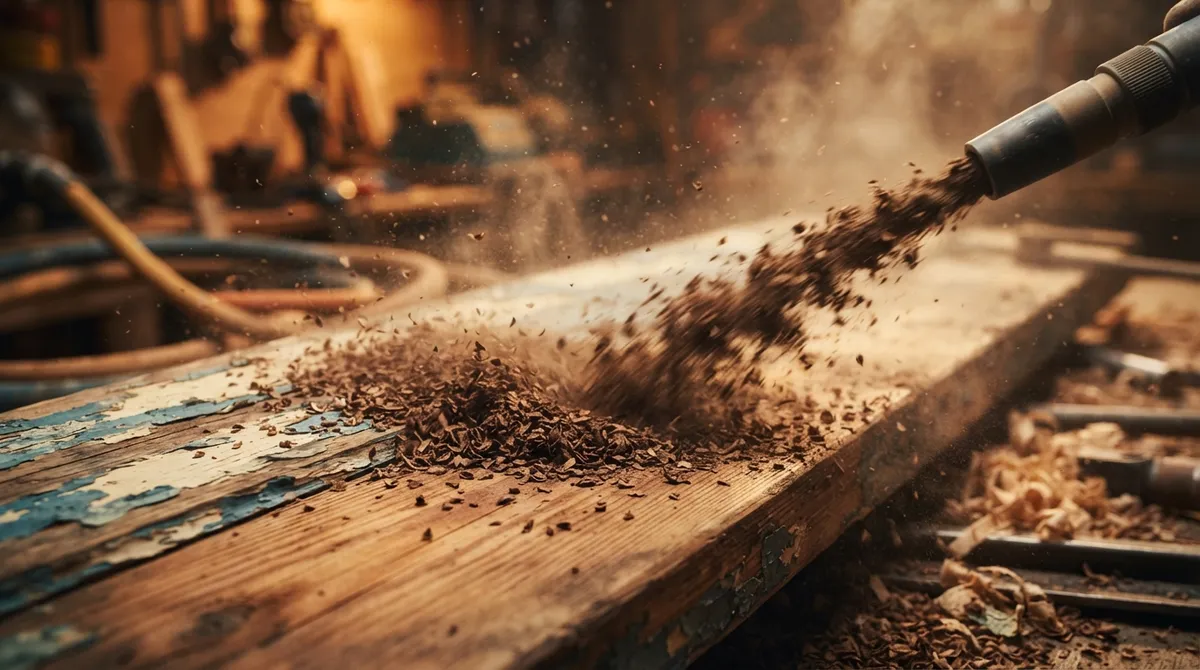
Not all blasting media are created equal, and wood is picky about what touches it. Soft, gentle media like walnut shell or corn cob are the go-to choices for wood surface preparation. These materials clean off old finishes without chewing into the fibers underneath.
Hard mineral abrasives, the kind used on steel, are far too aggressive for wood. They’ll cut right through soft fibers and leave a rough, damaged surface. A commercial media-selection source lists 35 to 60 psi as a general starting range for wood blasting with walnut shell or corn cob, but this is just a starting point. Every wood species, coating type, and condition is different, so we always test the actual surface at the lowest effective setting first.
| Media Type | Best For | Notes |
|---|---|---|
| Walnut Shell | Paint and stain removal on soft woods | Gentle, low dust, widely used for wood |
| Corn Cob | Light cleaning and mildew removal | Soft, good for delicate trim work |
| Soda Blasting | Coating removal near sensitive areas | Low pressure, minimal surface impact |
| Sand or Mineral Abrasives | Not recommended for wood | Too aggressive, risks fiber damage |
We match the blast to your surface, not the other way around. That’s a rule we never bend, whether we’re working on a fence in Riverview or a dock in Tampa.
4. Decide If Blasting Is Even the Right Method
Here’s an honest truth: blasting isn’t always the best answer. If your wood is sound and just needs a light cleaning, a good wash or gentle sanding might do the trick. Blasting shines when you’re dealing with failing paint, thick buildup, or extensive weathering that hand tools can’t touch efficiently.
Weathered wood with raised grain often needs sanding after blasting to smooth things out before you paint or stain. And here’s a tip worth remembering: avoid steel wool or wire brushes on wood. They can leave tiny iron particles behind that rust and stain the wood later, especially in Florida’s humid climate.
Not sure which route fits your project? We’re happy to look at photos or come take a look ourselves. Feel free to get a free estimate and we’ll tell you honestly if blasting is the right call.
5. Handle Old Coatings Safely
Before any nozzle touches your wood, we need to know what’s on it. Old paint, especially on homes built before 1978, can contain lead. Blasting can send that lead, along with wood dust, into the air if it’s not handled carefully.
OSHA’s construction lead standard sets a permissible exposure limit of 50 micrograms per cubic meter of air as an 8-hour average, according to the OSHA guidance on lead in construction. This is a workplace exposure limit, not a green light for uncontrolled blasting. It’s a reminder that hazard assessment matters before work begins.
Here’s what proper safety looks like on a wood blasting job:
- Identify the coating type and age before starting work
- Assess the surrounding area for containment needs
- Set up barriers to protect landscaping, windows, and neighboring surfaces
- Use respiratory protection appropriate for the hazard
- Follow proper cleanup and disposal procedures for hazardous dust
We contain the mess and protect the surrounding area on every job, whether it’s a small railing or a full house exterior. That’s part of what makes mobile blasting different from a DIY approach with a rented machine.
6. Respect the Dust and Noise Factor
Abrasive blasting isn’t quiet or dust-free, even with gentler media. OSHA has flagged silica-containing blasting media as a serious respiratory hazard for decades. In fact, NIOSH has recommended since 1974 that silica sand, or any blasting material with more than 1% crystalline silica, be prohibited as an abrasive because of the silicosis risk, according to OSHA’s Technical Manual.
Even biodegradable or low-dust media doesn’t eliminate every hazard. The coating being removed matters just as much as the media doing the removing. This is why choosing an experienced crew who understands what is sandblasting and how to control its byproducts makes such a difference. Dustless blasting techniques can help cut down airborne particles significantly, which is worth asking about if you’re working near a home, business, or shared property line.
If dust control is a top concern for your project, take a look at our article on what makes dustless blasting in Tampa so effective.
7. Prep the Wood for Refinishing After Blasting
Blasting is only half the job. What happens after matters just as much for a finish that actually lasts. Once blasting wraps up, here’s the process we follow:
- Remove all spent media and dust from the surface and surrounding area
- Inspect closely for any fiber damage or leftover coating spots
- Check the wood’s moisture level before applying any new finish
- Allow the wood to dry according to your coating manufacturer’s requirements
A fixed drying time doesn’t work for every job. Florida’s humidity, the wood species, and the site conditions all play a role in how long drying actually takes. The Forest Products Laboratory notes that moisture condition and cleanliness matter significantly to finish performance, so rushing this step can undo all the good work from the blasting stage.
Once the wood is clean, dry, and ready, it’s genuinely ready to prime and coat. That’s the payoff of doing wood surface preparation the right way from the start.
Why Homeowners Across Central Florida Trust Mobile Blasting
We’re based in Tampa and travel throughout the central Florida corridor, including Ocala, Orlando, and Fort Myers. For the right project, we’ll go even further. Being fully mobile and self-contained means we come to you, whether that’s a dock, a driveway, or a job site, without needing your power or water hookups.
We’re fully insured and small enough to give every wood surface preparation job our full attention. When you call, you talk to the people actually doing the work, not a call center reading from a script. That kind of direct communication matters when you’re trusting someone with a wood surface that took decades to build character.
Curious what past customers have to say? You can visit us on Google and see what our customers are saying about us before booking your project. We think you’ll like what you find.
Ready to Bring Your Wood Back to Life?
Wood surface preparation takes patience, the right media, and a crew that knows when to ease off the pressure. Whether you’ve got a weathered fence in Brandon, a faded pool deck in Clearwater, or an old dock along the coast, the process should always protect the wood, not damage it.
If you’re ready to see what mobile blasting can do for your wood surfaces, give us a call and let’s talk through your project. We’ll walk the site, recommend the right media for the job, and give you a clear estimate the same day. Your wood deserves a fresh start, and we’re here to help it get there.
FAQs
Q: What is wood surface preparation in mobile blasting?
A: It’s the process of gently removing failing paint, stain, dirt, and weathered fibers from wood so it’s ready for a fresh coat. We use soft media and low pressure to protect the sound wood underneath while clearing away everything that shouldn’t be there.
Q: Can you abrasive blast wood without damaging it?
A: Absolutely, as long as you use the right technique. That means testing a small patch first, keeping the nozzle moving, and choosing gentle media like walnut shell instead of harsh mineral abrasives meant for steel.
Q: What blasting media is safest for wood?
A: Walnut shell and corn cob are the friendliest options for wood surfaces. They clean off old coatings without tearing into the grain the way harder abrasives can.
Q: Is mobile blasting suitable for removing paint from wood siding and decks?
A: Yes, it’s often a great fit, especially when paint is peeling or buildup is thick. We come to your property, protect the surrounding area, and match the blast settings to your specific wood and coating.
Q: How should wood be prepared after blasting before staining or painting?
A: Clear away all the spent media and dust, then check for any leftover coating or rough spots. Let the wood dry fully according to your coating manufacturer’s guidelines before you paint or stain, since rushing this step can hurt the final finish.