Key Takeaways
-
Blasting removes rust, old paint, and mill scale and creates a surface profile, a fine texture of peaks and valleys that gives new coatings something to grip, so paint bonds instead of peeling.
-
Degrease oil and grease before blasting, since abrasive blasting can drive contaminants deeper into the surface and cause paint failures later.
-
Choose the cleanliness standard from the coating's data sheet or project spec, using AMPP/SSPC grades such as SP 6, SP 10, or SP 5, rather than guessing.
-
Match the abrasive to the material: soda or walnut shell for fiberglass and thin panels, and aluminum oxide for heavy rust and thick steel coatings. Silica sand should not be used.
-
Paint soon after blasting, ideally the same day, because bare steel can flash rust within hours in humid or coastal air, and always follow the coating maker's time and humidity limits.
-
Remove all blast dust and check for leftover rust, staining, and soluble salts before coating, since dust weakens the bond and salts can cause blisters later.
Here is a hard truth about paint: it is only as good as the surface under it. You can buy the best coating on the shelf, but if the surface is dirty, rusty, or too smooth, that paint will peel. Florida’s heat, humidity, and salt air make it even less forgiving. That is why sandblast painting prep matters so much.
At its core, sandblast painting prep means cleaning a surface with abrasive blasting right before you paint or coat it. The blast removes rust, old paint, and buildup. It also gives the surface a rough texture, called a profile, so the new coating can grab on and hold.
We are Blastworx, and we come to you. Our rig is fully mobile and self-contained, so we do this work in your driveway, at your shop, or on your job site. In this guide, we walk through 10 steps that help make a coating last, from picking a cleanliness level to knowing when to paint. Think of it as a friendly checklist you can use on your next project.
What Sandblast Painting Prep Actually Does
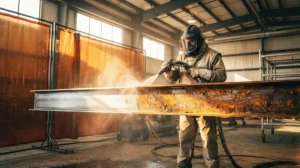
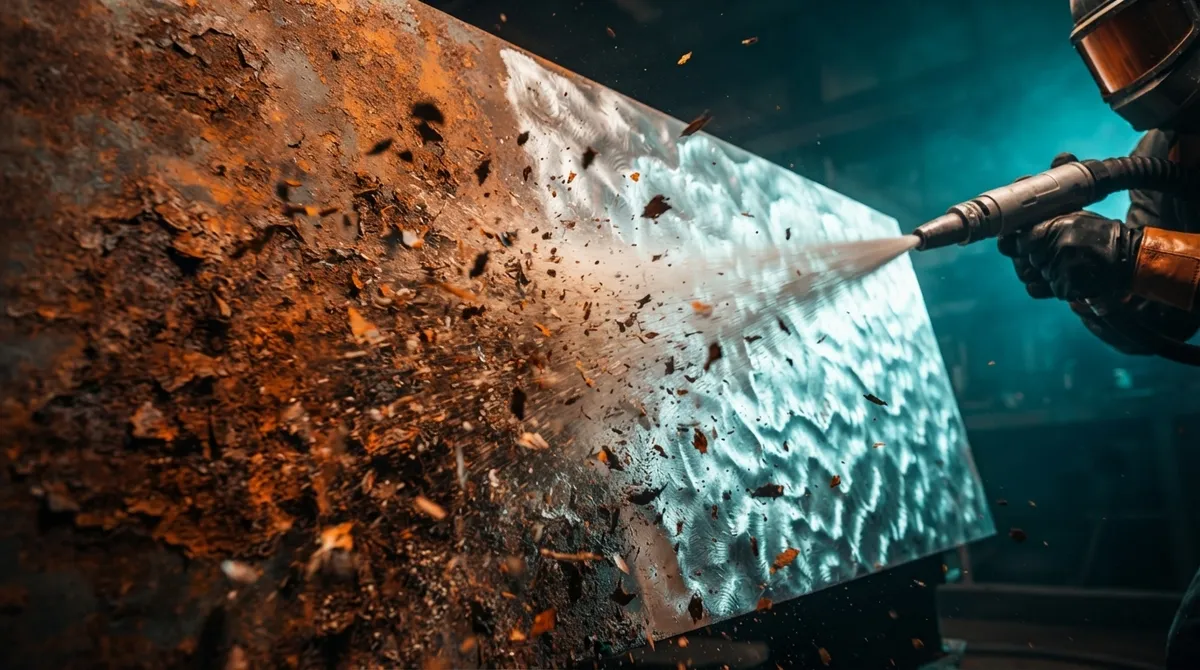
Sandblast painting prep does three jobs at once. It strips away what should not be there, such as rust, mill scale, old coatings, and grime. It also creates a surface profile, which is a fine pattern of tiny peaks and valleys. And it leaves the surface clean and ready for the next step.
Hand tools just cannot match that. Wire brushes and sandpaper miss rust hiding in seams, welds, and corners. Blasting takes the whole surface back to clean, sound material in one pass. If you want to see how the two approaches compare, check out our post on sandblasting vs. hand prep. If you are new to the whole idea, this overview explains what is sandblasting in plain terms.
Here is what proper prep gives you:
- Better paint adhesion, so coatings bond instead of flake
- Rust and old paint removed from every nook, not just the flat spots
- A uniform surface that helps the new finish look even
- Longer coating life in hot, wet, salty Florida air
10 Sandblast Painting Prep Steps
Every job is different, but these ten steps cover the big stuff. Some you handle before we arrive. Others happen on the rig. Together, they set your coating up to win.
1. Decide the Cleanliness Level First
Do not guess how clean the surface needs to be. The coating and the surface should set that standard. For steel, the industry uses published cleanliness grades from AMPP/SSPC. Your project specification or the coating maker’s data sheet tells you which one fits.
Here are the common ones in simple terms:
| Standard | Common Name | What It Means |
|---|---|---|
| SP 7 | Brush-Off | Light cleaning that removes loose rust, scale, and paint |
| SP 6 | Commercial | Staining may remain on up to 33% of each unit area |
| SP 14 | Industrial | Thorough cleaning that allows some tightly bound residue |
| SP 10 | Near-White | Staining limited to 5% of each unit area |
| SP 5 | White Metal | Fully clean, bare metal with no visible residue |
A higher grade costs more time, so match it to what the coating truly needs. A tough marine or industrial coating often calls for a tighter standard than a simple fence.
2. Size Up the Surface and Old Coating
Before any media leaves the hopper, take a close look. What is the surface made of? Steel, iron, aluminum, wood, concrete, and fiberglass all react differently. What is on it? Rust, mill scale, thick paint, or powder coat each need a different plan.
This is where we say it a lot: we match the blast to your surface, not the other way around. A quick walkthrough, or even a few photos, helps us plan it right.
3. Pick the Right Media for the Job
The type and size of the abrasive change how fast the job goes, how rough the profile gets, and how much dust you make. The right media for the job protects your material and still does the work.
| Media Type | Best For | Notes |
|---|---|---|
| Soda | Fiberglass, gelcoat, thin panels, delicate surfaces | Gentle, lower heat, light cleaning |
| Walnut shell | Softer surfaces and light coating removal | Mild and good for tender materials |
| Glass bead | Cleaning and light finishing | Smoother, brighter result |
| Aluminum oxide and similar abrasives | Heavy rust, steel, and thick coatings | Aggressive and creates a stronger profile |
One safety note matters here. NIOSH has recommended since 1974 that silica sand, or any blasting material with more than 1% crystalline silica, not be used. Silica dust can cause silicosis, a serious lung disease. Modern pros use safer media for that reason.
Want to dig deeper? Read our guides on soda blasting vs. sandblasting and aluminum oxide vs. sand.
4. Remove Oil and Grease Before Blasting
Blasting does not fix oil. In fact, it can drive grease deeper into the surface. Oil, grease, and heavy dirt should come off first, usually with a proper cleaner. This is one of the most skipped steps, and it causes real paint failures later.
If a part has been sitting in an engine bay, a boat yard, or a kitchen exhaust area, expect extra degreasing. A clean start means a clean finish.
5. Contain the Mess and Protect the Area
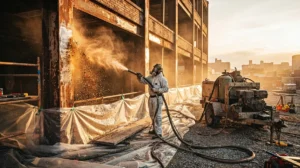
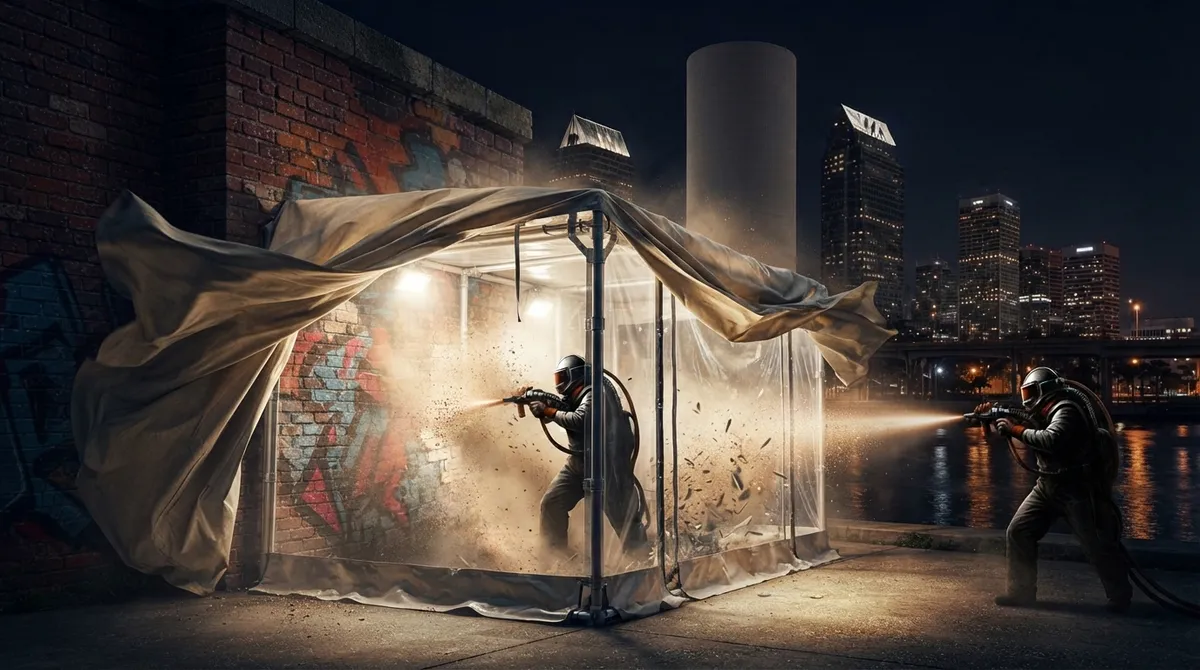
Blasting makes debris. A good crew plans for that. We contain the mess and protect the surrounding area, so your landscaping, windows, pool, and nearby equipment stay safe.
On a job site, that can mean tarps, barriers, and careful spent-media cleanup. For indoor work or tight spaces, dustless blasting cuts the dust way down. Our dust control guide explains how pros keep jobs tidy.
6. Blast to the Right Profile
Paint needs something to grip. Blasting leaves a fine texture that works like tiny anchors for the new coating. Too smooth, and paint peels. Too rough, and thin coatings may not cover the peaks.
The coating maker usually lists the profile depth it wants. We choose media size and pressure to land in that range. Softer media on thin metal also helps prevent warping, which is key for car panels and sheet metal.
7. Work Methodically Across the Whole Surface
Good blasting is steady and even. We work in overlapping passes so nothing gets missed. Corners, welds, rivets, and edges get extra attention because rust loves to hide there.
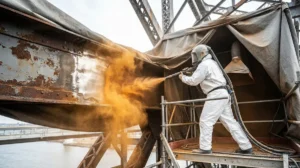
For bigger structures, such as railings, tanks, or beams, this is where blasting really shines. You can learn more in our posts on structural steel blasting and how metal surface prep works.
8. Remove Dust and Check the Surface
A fresh blast leaves fine dust behind. If that dust stays, paint sticks to dust instead of metal. After blasting, the surface should be blown, wiped, or vacuumed clean.
Then comes inspection. We look for leftover rust, old coating, staining, and a consistent texture. On steel in coastal spots, soluble salts can also hide on the surface and cause blisters later. When the coating spec calls for it, testing for salts is worth the effort.
9. Paint Before Rust Comes Back
This is the step people forget. Freshly blasted bare steel can flash rust fast, sometimes within hours in humid or coastal air. Florida makes that clock tick even faster.
Plan it so painting follows blasting closely. Always follow your coating maker’s limits for temperature, humidity, and time between prep and coating. Our surface prep checklist for commercial coating goes deeper on timing.
Here is a simple timing plan:
- Schedule your painter before we blast.
- Blast and clean the surface the same day when possible.
- Prime or coat right away, within the maker’s allowed window.
- Skip painting on damp, foggy, or very humid days.
10. Put Safety First, Especially With Old Paint
Blasting creates dust and noise. OSHA notes that both the abrasive and the surface being blasted can contain hazardous material, including silica and toxic metals. Good controls include containment, ventilation, training, and the right protective gear.
Older paint deserves extra care. If a coating contains lead, OSHA’s construction lead rule can apply. It sets a permissible exposure limit of 50 micrograms per cubic meter of air, averaged over eight hours. If you suspect lead paint on an older building, test it first and plan for it. Our post on safe blasting procedures covers what a careful crew does.
Why Mobile Blasting Makes Paint Prep Easier
Hauling a boat trailer, a fence section, or a steel tank to a shop is a hassle. Mobile service flips that. We come to you with a fully mobile, self-contained rig, and we do not need your power or water.
That setup helps painting schedules too. Because we blast where the item sits, the surface goes from bare to coated in a short window. That cuts down the chance of flash rust and contamination. For more on this approach, see mobile rig vs. local shop.
Here is what to plan for before a mobile blasting visit:
- Clear access for our rig to reach the item
- A plan for protecting nearby plants, cars, and windows
- Weather that works, since rain and high humidity slow things down
- A painter or coating crew lined up for the right timing
Prep Examples Across Different Surfaces
Every surface has its own recipe. Here is how it plays out in the real world, around Tampa Bay and beyond.
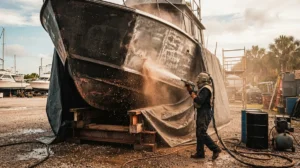
Boats and trailers: Soda or walnut shell protects fiberglass and gelcoat, while trailers and metal hardware can take stronger abrasives. See our marine blasting page for details.
Cars and frames: Frames and heavy rust get a stronger abrasive. Thin body panels need lower pressure and cooler media. Learn more on our automotive blasting page.
Steel and equipment: Tanks, beams, and machinery often need a tighter cleanliness grade. Our industrial blasting services handle that on-site.
Fences, gates, and railings: Iron and steel strip down well, then they are ready to prime. Check out how to strip paint from a metal fence and restoring wrought iron railings. Homeowners can browse our residential blasting options too. One note: we do not blast vinyl fencing because it is too delicate.
Concrete and pool decks: Blasting cleans and opens the surface before sealing or resurfacing. See how to prep a pool deck.
Common Prep Mistakes to Avoid
Even careful folks trip up on a few things. Watch out for these:
- Skipping degreasing. Oil blocks adhesion no matter how good the blast is.
- Waiting too long to paint. Bare steel can rust again quickly.
- Using too harsh a media. Aggressive abrasives can warp thin metal or scar soft surfaces.
- Ignoring dust. Dust left on the surface weakens the bond.
- Guessing the standard. Always check what your coating requires.
For a longer list, read 13 abrasive blasting mistakes that cost you money.
How Our Process Works
Our process is simple, and you always talk to the people doing the work. Here is how it goes:
- Walkthrough. Send photos or we come look, and we choose the right media for the surface.
- Free estimate. You get a clear, written estimate the same day. The price we give is the price you pay.
- Blast and strip. We protect the surrounding area, then blast the surface clean at your location.
- Ready to finish. The surface comes out clean and ready for the next step.
A quick note on coatings: for most jobs, we strip and prep only, and your painter or coating crew handles the finish. On some industrial and automotive projects, limited coating may be available. Just ask. We serve Tampa, Clearwater, Sarasota, Ocala, Orlando, and Fort Myers, plus towns like Brandon, Riverview, Plant City, Lutz, and St. Pete. See our service areas, or browse our gallery to see the results.
Curious about what happens when you are shopping around? Our 9 steps to prepare for sandblasting post helps you get ready. And you can Visit us on Google — see what our customers are saying about us to read real feedback from folks around Tampa Bay.
Ready to Give Your Paint a Solid Start?
Great paint jobs begin long before the first coat. Pick the right cleanliness level, match the media to the surface, remove oil and dust, and paint before rust returns. Do those things, and your coating has a real shot at lasting through Florida’s toughest weather.
We would love to help. We are fully insured, owner-operated, and we come to you. Ready to get started? Get a free estimate today, or give us a call at 813-380-8092. You can text us too. Let us get your surface back to clean, sound material, ready to prime and coat.
FAQs
Q: What does sandblasting do to a surface before painting?
A: It strips away rust, mill scale, old paint, and buildup, and it leaves a fine texture called a surface profile. That rough pattern gives the new paint something to grip, so it bonds better and lasts longer.
Q: How soon after blasting should a surface be painted?
A: As soon as you reasonably can, ideally the same day for bare steel. Fresh metal can flash rust within hours in humid or coastal air, so always follow your coating maker’s limits for temperature, humidity, and time before coating.
Q: What blast-cleaning standard should I use before painting steel?
A: It depends on the coating and the job. Common AMPP/SSPC grades include SP 7 (brush-off), SP 6 (commercial), SP 14 (industrial), SP 10 (near-white), and SP 5 (white metal). Check your project spec or the coating data sheet to pick the right one.
Q: Can mobile blasting remove old paint, rust, and mill scale?
A: Yes, and it does it right where the item sits. We match the media to your surface, so tough steel gets a stronger abrasive and delicate materials like fiberglass get softer media. We come to you with a fully mobile, self-contained rig.
Q: What safety steps matter when blasting old or lead-painted surfaces?
A: Test older paint first, since lead coatings can trigger OSHA’s construction lead rules. Good crews also use containment, ventilation, proper training, and protective gear to control dust, noise, and debris.