Key Takeaways
-
Silica sand is no longer the recommended blasting media due to serious health risks including silicosis and lung cancer; safer alternatives like garnet, soda, or walnut shell should be selected based on the specific surface type.
-
Professional sandblasting requires a strict 10-step sequence including surface inspection, hazard identification, dust containment, and prompt coating within manufacturer windows—skipping steps is where DIY jobs fail.
-
Dust control is critical because blasting media can carry lead, silica, and other contaminants; OSHA limits respirable crystalline silica to 25-50 micrograms per cubic meter, enforced through wet blasting, ventilation systems, and Type CE supplied-air respirators.
-
Proper PPE including NIOSH-certified Type CE respirators, blast helmets, hearing protection, gloves, and protective clothing are mandatory for abrasive blasting work and are a primary reason most homeowners should hire professionals.
-
Before blasting any surface built before 1978, test for lead and other hazardous coatings, as blasting can send toxic particles airborne without proper containment, respiratory protection, and disposal procedures.
-
Mobile professional crews protect surrounding property by shielding windows, covering landscaping, moving vehicles, and using containment screens—a comprehensive protective approach that DIY equipment typically cannot match.
So you’ve got rust on the railings, old paint on the fence, or grime baked into your pool deck. You’ve probably typed “how to sandblast” into a search bar at least once while staring at that mess. Good news: you’re in the right place. We’re going to walk you through exactly what sandblasting involves, why it’s not something to wing on a Saturday afternoon, and when it makes sense to bring in a pro instead.
At Blastworx, we live and breathe this stuff every day across Tampa Bay and the central Florida corridor. We’ve seen the good, the risky, and the downright dangerous when it comes to abrasive blasting. Our goal here isn’t to scare you off the topic. It’s to give you a clear, honest picture so you can make a smart choice for your property, whether that’s a DIY-friendly touch-up or a job that needs a trained crew and the right gear.
What Sandblasting Actually Means
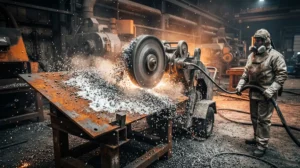
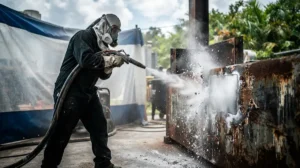
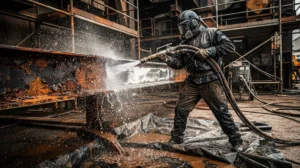
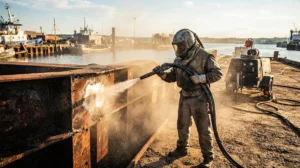
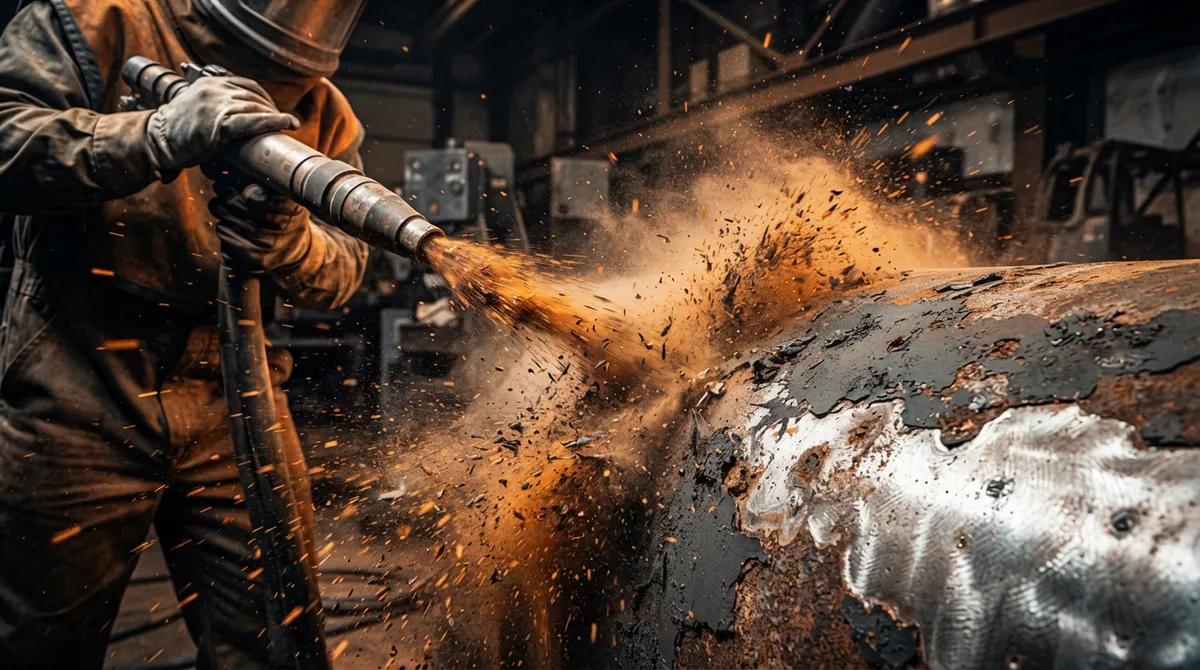
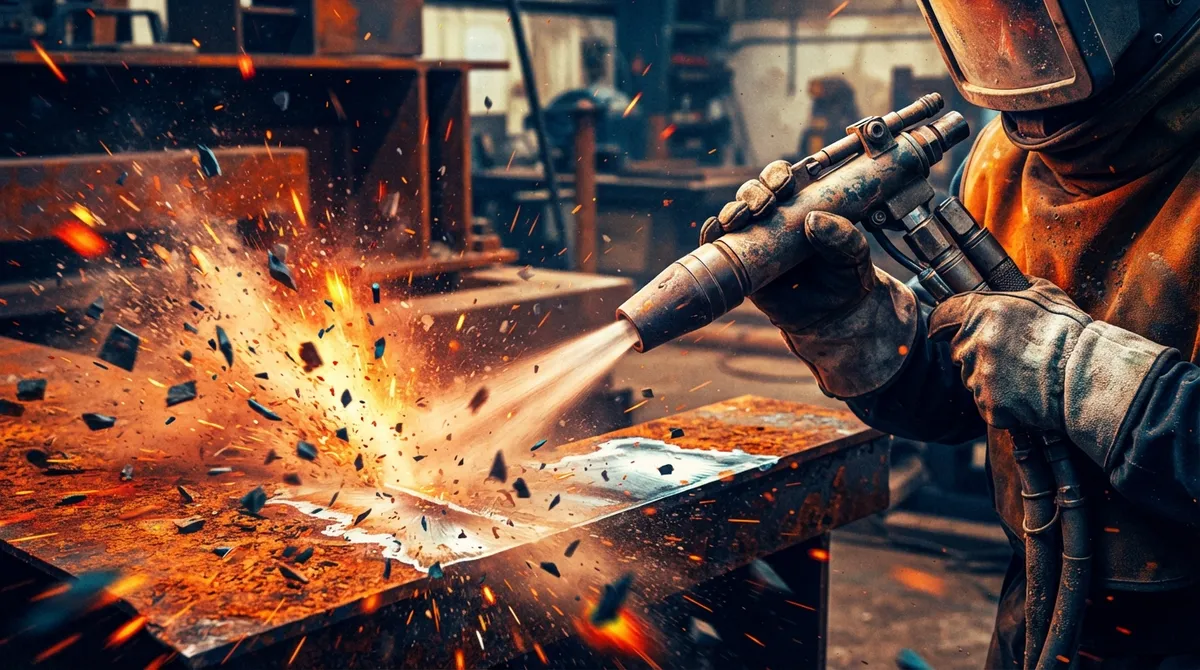
Sandblasting is a type of abrasive blasting. It uses compressed air, water, or a mix of both to shoot small particles at a surface. That force strips away paint, rust, mill scale, corrosion, dirt, and old coatings. It also creates a rough texture, called a profile, so new paint or coating can grip and last.
Here’s the thing though: despite the name, actual silica sand isn’t the go-to media anymore for most jobs. We’ll get into why in a minute. For now, just know that “sandblasting” has become a catch-all term, kind of like calling every tissue a Kleenex. The real process today usually involves safer, smarter media choices.
The Step-by-Step Sandblasting Process
A proper blasting job isn’t just pointing a nozzle and hoping for the best. Professionals follow a clear sequence every time. Here’s how it breaks down:
- Inspect the surface and surroundings. Before anything gets blasted, we look at what we’re dealing with. Is it wood, metal, concrete, or fiberglass? Are there existing coatings that could contain lead or other hazards?
- Identify hazards in old coatings. Older paint on homes, bridges, and industrial equipment can hide lead, chromium, or other toxic metals. Blasting can send these particles into the air if you’re not careful.
- Choose the right method. Dry blasting, wet blasting, or vapor blasting each have their place depending on the surface and site conditions.
- Select compatible media and nozzle size. This step matters more than most people realize, and we’ll cover it in detail below.
- Protect the surrounding area. Windows, landscaping, vehicles, and neighboring structures all need shielding before blasting starts.
- Contain dust and debris. Tarps, enclosures, or vacuum recovery systems keep the mess from spreading.
- Blast in controlled passes. Steady, even movement gets the surface clean without gouging or over-blasting.
- Check the surface profile and cleanliness. The surface needs to meet a specific standard before moving forward.
- Collect and dispose of waste properly. Spent media and paint chips can’t just go in a regular trash bin, especially if hazardous materials are involved.
- Prime or coat promptly. Bare metal and stripped surfaces don’t stay clean forever. Coating needs to happen within the manufacturer’s recommended window.
If you’re prepping a pool deck, a fence, or a set of railings, this sequence still applies, just on a smaller scale. Skipping steps is where DIY jobs tend to go sideways. If you want to see this process explained in more detail, our guide on how to prepare for sandblasting the right way breaks it down further.
Picking the Right Media for the Job
Media selection is where a lot of DIYers get stuck, and honestly, it’s where a lot of amateur jobs go wrong. Not every abrasive works for every surface. Here’s a quick look at common options:
| Media Type | Best For | Notes |
|---|---|---|
| Soda | Fiberglass, gelcoat, wood, delicate surfaces | Gentle, low damage risk, water-soluble |
| Walnut shell | Wood, soft metals, detail work | Biodegradable, mild abrasive |
| Garnet | Steel, concrete, heavy rust | Fast cutting, low dust compared to sand |
| Crushed glass | Concrete, metal, general use | Recyclable, lower silica content than sand |
| Steel grit or shot | Heavy steel, industrial equipment | Aggressive, creates deep profile |
| Glass bead | Aluminum, stainless steel, light cleaning | Smooth finish, less aggressive |
Silica sand used to be the default choice, but it’s not something we recommend treating as a go-to anymore. Breathing in fine silica dust over time can cause silicosis and raise your risk of lung cancer, according to OSHA. That’s a serious trade-off for a job that has safer alternatives available. We always match the media to your surface, not the other way around, whether that’s soda for a boat hull or garnet for a rusted steel beam.
Why Dust Control Isn’t Optional
Here’s something a lot of people don’t think about until it’s too late: sandblasting kicks up a lot of dust, and that dust can carry more than just dirt. Depending on what’s being removed, it might carry lead, silica, or other contaminants.
OSHA sets clear limits here. The action level for respirable crystalline silica is 25 micrograms per cubic meter of air, averaged over an 8-hour day. The permissible exposure limit tops out at 50 micrograms per cubic meter over that same period. These aren’t arbitrary numbers. They exist because prolonged exposure causes real, lasting health problems.
To keep exposure low, professional crews rely on a few key methods:
- Wet or vapor blasting to knock dust down before it becomes airborne
- Local exhaust ventilation and vacuum recovery systems
- Temporary enclosures or negative-air equipment for enclosed spaces
- Tarps and barriers to control where debris lands
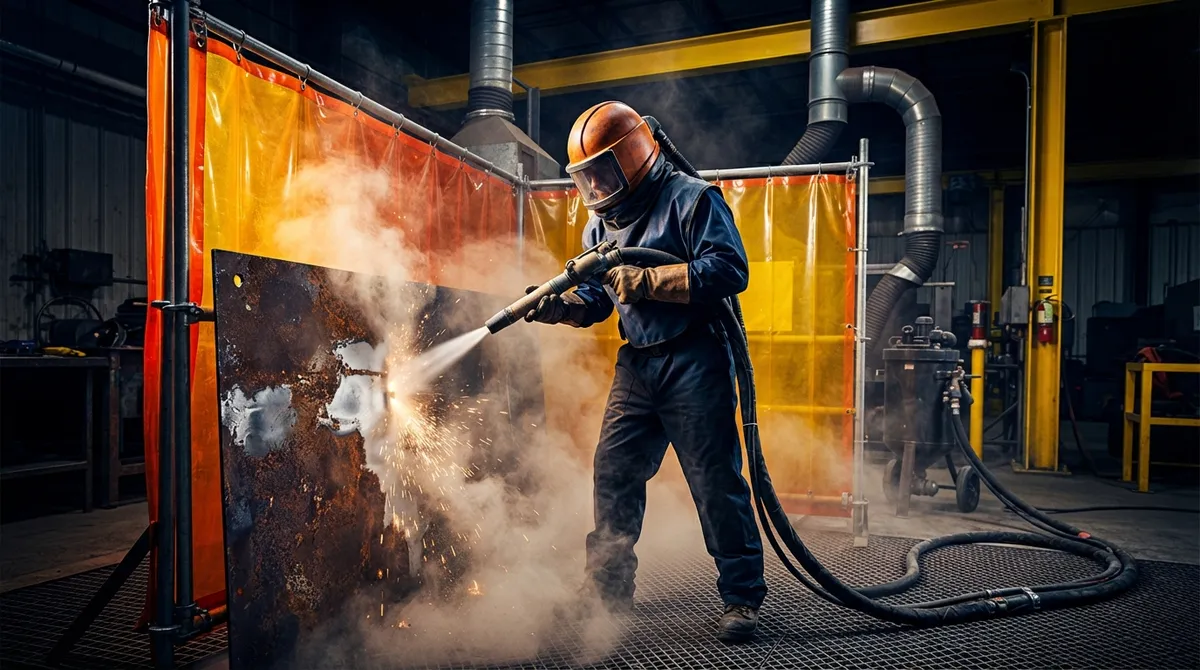
- Proper respiratory protection, including Type CE supplied-air respirators when needed
Water-based methods cut dust significantly, but they come with their own trade-offs, like wastewater runoff and the risk of flash rust on bare metal if it’s not coated quickly. That’s why the method has to fit the job, not just the surface. Our post on how pros handle sandblasting dust control safely goes deeper into this topic if you want more detail.
Equipment and PPE You’ll Actually Need
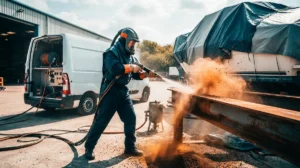
If you’re picturing a small handheld sandblaster from the hardware store, we get it, but that’s not quite the setup used for most real-world jobs. A proper mobile blasting rig includes:
- A correctly sized air compressor
- A blast pot or pressure vessel
- A moisture separator to keep the air line dry
- A deadman control for safety shutoff
- Hoses, nozzle, and an abrasive metering system
- Containment or recovery equipment depending on the site
On the personal protection side, OSHA guidance points to a few must-haves depending on the job:
- A NIOSH-certified Type CE abrasive-blasting respirator, especially in enclosed spaces or with media containing more than 1% crystalline silica
- A blast helmet with proper eye and face protection
- Hearing protection, since blasting is loud
- Gloves and heavy-duty protective clothing
- Safety footwear rated for the job site
This is exactly why most homeowners call in a mobile crew rather than renting equipment for a weekend project. It’s not just about having the right gear. It’s about knowing how to use it safely, every single time.
Protecting Your Property During the Job
One question we hear all the time: how do you keep blasting from wrecking everything around it? Good question, and it’s a fair worry. Here’s how a professional crew handles it:
- Windows and glass get covered or shielded before work starts
- Landscaping and plants are protected with tarps or temporary barriers
- Vehicles and outdoor furniture are moved or covered
- Nearby structures get isolated with containment screens
- Utility lines and fire hazards are checked before the first pass
We’ve worked driveways, docks, and job sites all over the Tampa Bay area, and we always treat the surrounding property like it’s our own. If you’re curious how this plays out on a real property, check out our piece on mistakes to avoid with residential sandblasting in Riverview.
When to Call a Professional Instead of DIY
We’re not saying you can never handle a small job yourself. But there are moments when calling in a pro just makes sense:
- The surface has old paint that might contain lead (common in homes built before 1978)
- You’re working near a pool, landscaping, or delicate windows
- The job involves structural steel, marine equipment, or heavy industrial parts
- You don’t have access to proper respiratory protection or containment gear
- The project is large enough that DIY equipment just won’t cut it
This is where a company like ours comes in handy. We’re fully mobile and self-contained, so we come to you, whether that’s a driveway in Brandon, a dock in Clearwater, or a job site in Orlando. We don’t need your power or water to get started, and we protect the surrounding area every step of the way. If you’re weighing your options, our article on why choose mobile sandblasting for your Tampa home lays out the benefits pretty clearly.
What Happens After the Blast
Once the surface is stripped, the job isn’t quite done. A few final checks matter:
- Inspect for remaining contamination or embedded abrasive
- Check the surface profile against the coating specification, if one exists
- Look for flash rust, especially after wet blasting
- Collect and properly dispose of spent media and waste
- Prime or coat the surface within the manufacturer’s recommended window
Skipping that last step is a common mistake. Bare metal left exposed too long can start rusting again, undoing all that hard work. We always recommend having your primer or coating ready to go before the blast even starts.
Why the Right Media and Method Matter So Much
A coating is only as good as the surface underneath it. Paint, powder coat, resurfacing, and antifouling all fail faster when the prep work is weak. Hand-sanding tends to miss rust hiding in seams and corners. Blasting takes the whole surface back to clean, sound material in one pass, so whatever goes on next actually bonds and holds up against Florida’s heat, humidity, and salt air.
That’s really the heart of the answer to “how to sandblast” the right way: match the media to the surface, control the dust, protect what’s around you, and finish the job by coating promptly. Do those four things well, and you’ll get results that last for years, not months.
Our Simple Four-Step Process
When folks reach out to us, here’s what the process usually looks like from start to finish:
- Walkthrough. Send us photos, or we’ll come take a look. We figure out the right media for your surface together.
- Free estimate. You’ll get a clear, written estimate the same day. The price we give is the price you pay.
- Blast and strip. We protect the surrounding area, then blast the surface clean right at your location.
- Ready to finish. The surface comes out clean and ready for the next step, whether that’s paint, sealant, or a fresh coating.
We handle everything from marine blasting for boats and docks, to automotive blasting for frames and body panels, to residential blasting for fences, pool decks, and patios. We also cover industrial blasting and commercial blasting across the region. Not sure if your project is a fit? Take a look at our gallery to see the kind of work we do every week.
Wrapping It Up
Learning how to sandblast isn’t just about renting equipment and getting after it. It’s about understanding your surface, picking the right media, controlling the dust, protecting everything around you, and finishing the job properly so it actually lasts. Whether you’re tackling a small railing or planning a bigger project, that knowledge makes all the difference.
We’re proud to be the crew that Tampa Bay and central Florida homeowners and businesses trust for this kind of work. We’re fully insured, and when you call, you talk to the people actually doing the job. Curious what folks say about working with us? Visit us on Google — see what our customers are saying about us before you decide who to call.
Ready to get that rust, paint, or grime handled the right way? Get a free estimate today, or give us a call to talk through your project. We serve Tampa, Clearwater, Sarasota, Ocala, Orlando, Fort Myers, and everywhere in between, and we’re happy to travel for the right job.
FAQs
Q: What is the safest way to sandblast at a home or business property?
A: The safest approach starts with picking the right media for your surface, like soda or walnut shell for delicate materials, and controlling dust with wet blasting or containment barriers. It also means protecting windows, landscaping, and nearby structures before you even start. Honestly, this is why so many folks in Tampa Bay just call us instead of tackling it solo, we’ve got the gear and experience to do it right the first time.
Q: Can mobile blasting safely remove lead paint?
A: Yes, but it requires extra care since older paint can contain lead, chromium, or other hazardous metals that become airborne during blasting. A proper coating survey, containment plan, and respiratory protection are essential before starting. If your home was built before 1978, it’s worth having a pro evaluate the surface first.
Q: Is wet or vapor blasting better than dry sandblasting?
A: It really depends on your project. Wet and vapor blasting cut down dust significantly, which is great for jobs near homes or landscaping, but they can create wastewater and flash rust if surfaces aren’t coated quickly. Dry blasting works well for many jobs too, especially when paired with proper containment and vacuum recovery.
Q: What PPE is required for abrasive blasting work?
A: OSHA guidance points to a NIOSH-certified Type CE supplied-air respirator, a blast helmet, hearing protection, gloves, and protective clothing as the basics. The exact requirements depend on the media and whether you’re working in an enclosed space. This is honestly one of the biggest reasons DIY blasting can get risky fast.
Q: How should spent blasting media and paint waste be disposed of?
A: Spent media and paint chips need to be collected and handled according to federal, state, and local rules, especially if hazardous materials like lead are involved. You can’t just sweep it into a regular trash bin and call it done. Professional crews handle this as part of the job, so you don’t have to worry about compliance headaches.