Key Takeaways
-
Choose blasting media based on furniture material—baking soda and walnut shell for delicate wood, soda blasting for painted furniture, and wet blasting for metal pieces—to avoid damaging grain, veneers, or edges.
-
Always request a test patch on a hidden area before full blasting to confirm correct pressure and media settings, especially critical for antiques and veneered pieces to prevent irreversible damage.
-
If furniture was painted before 1978, ask blasting companies about lead paint containment and HEPA filtration, as abrasive blasting of lead surfaces is regulated and requires proper dust control.
-
Soda blasting residue is alkaline and must be fully rinsed or neutralized before applying new stains, paints, or coatings to ensure proper adhesion and prevent finish reactions.
-
Mobile on-site blasting eliminates transport risks for large or awkward pieces like farmhouse tables and dining sets while reducing cleanup hassles and providing dust containment.
-
Get project-specific estimates by providing photos and detailed piece descriptions rather than relying on generic pricing, as costs vary significantly by furniture size, finish thickness, media type, and containment needs.
Got a beat-up dresser sitting in the garage? Maybe an old iron patio set that’s more rust than metal at this point? You’re not alone. So many folks in Tampa Bay have a piece of furniture they love but haven’t touched because stripping it by hand sounds like a weekend-ruining nightmare. That’s where furniture restoration blasting comes in, and honestly, it might be the easiest first step toward giving that piece new life.
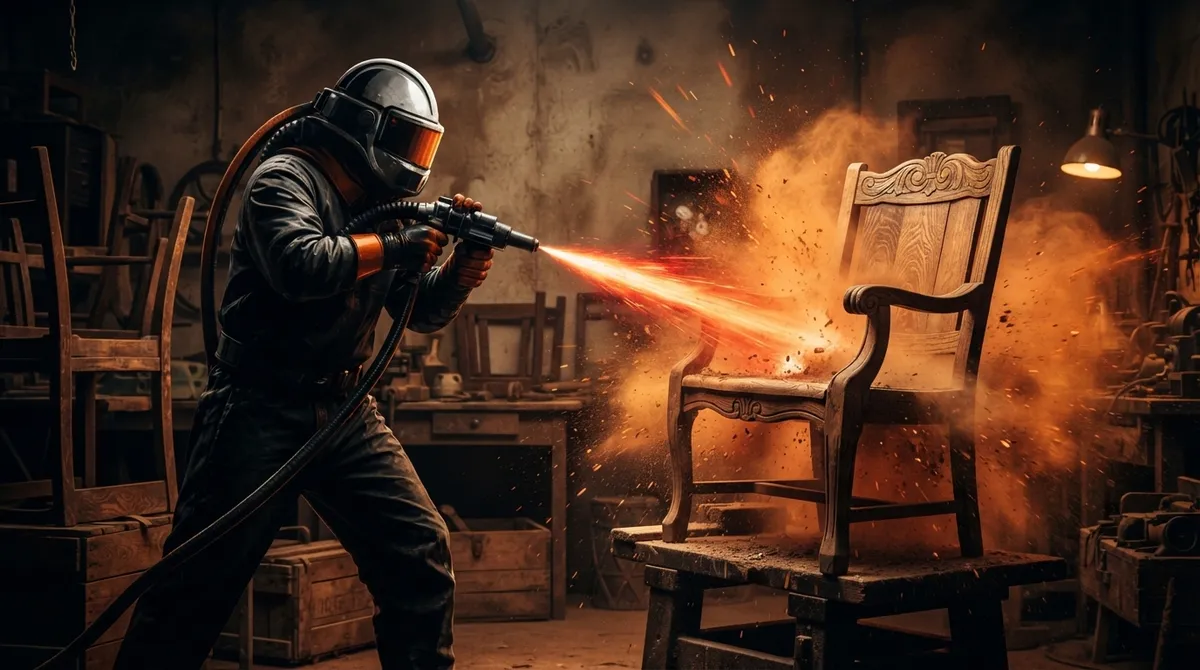
Furniture restoration blasting uses compressed air and carefully chosen media to strip away old paint, varnish, stain, grime, and rust from furniture before it gets refinished. It’s not magic, and it’s not one-size-fits-all. But when it’s done right, by someone who knows what they’re doing, it can save you hours of scraping and sanding while getting results that are hard to match by hand. In this guide, we’ll walk through how it works, what media makes sense for different pieces, and what questions to ask before you hand over grandma’s hutch to anyone with an air compressor.
What Is Furniture Restoration Blasting, Exactly
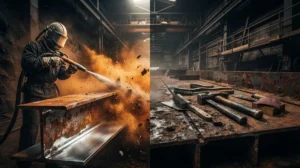
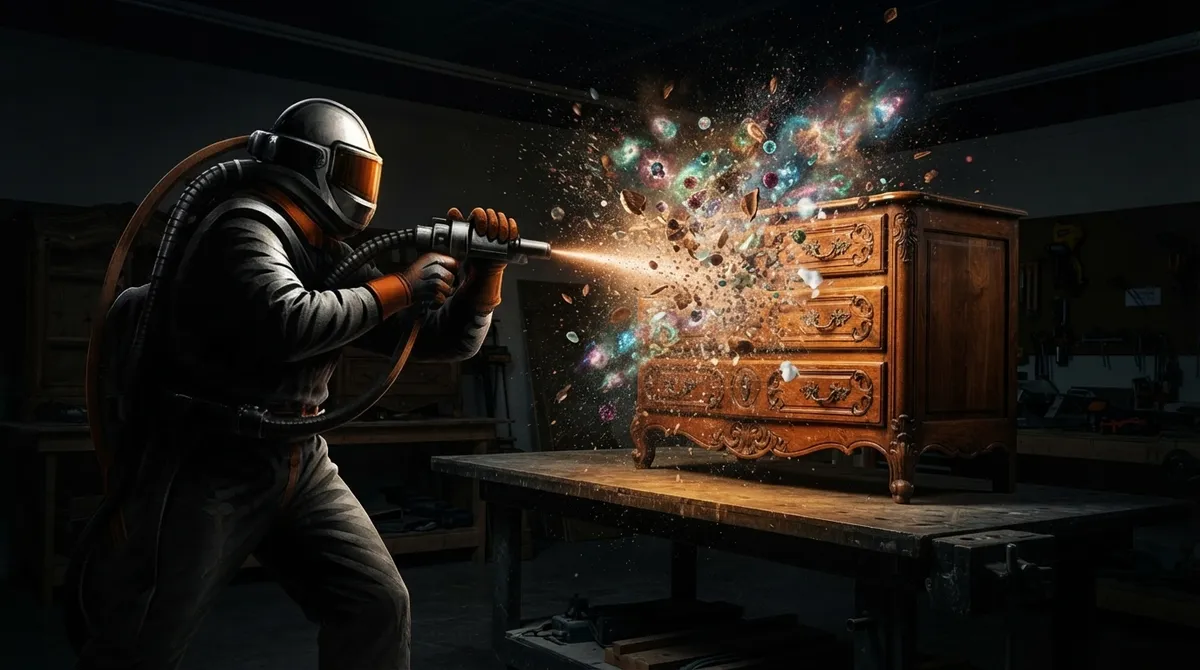
At its core, furniture restoration blasting is a surface-prep service. It uses what is sandblasting technology, but tuned way down and adapted for wood, metal, and mixed-material furniture instead of steel beams or concrete.
The goal isn’t to blast a hole through your favorite chair. It’s to remove old finishes, oxidation, and buildup so the surface is clean and ready for whatever comes next, whether that’s staining, painting, oiling, or a clear coat. Think of it as hitting a reset button on the piece before the real restoration work begins.
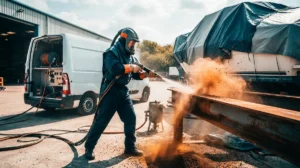
Mobile blasting crews can often do this work right on location. That means large or awkward pieces, like farmhouse tables, wardrobes, or a whole set of porch chairs, don’t need to be loaded up and hauled somewhere else. On-site work cuts down on the risk of scratches, dings, or breakage during transport. It also means less hassle for you.
What Media Works Best for Furniture
This is where things get interesting, and where a lot of DIY attempts go sideways. Not all blasting media is created equal, and wood is a lot more delicate than steel. Pick the wrong media or too much pressure, and you can round off edges, blow out soft grain, or tear up a veneer in seconds.
Here are the media types commonly used for furniture work, and where each one shines:
- Baking soda: Gentle, low-heat, and effective on many paints and finishes. A go-to choice for softer woods and delicate surfaces.
- Walnut shell: A natural abrasive that’s soft enough for wood but still cuts through grime and old coatings.
- Corn cob: Another gentle organic media, often used on antiques and pieces with detailed carving.
- Fine crushed glass: A step up in aggressiveness, useful for tougher coatings but still manageable on solid wood.
- Wet or dustless blasting media: Combines water with abrasive to knock down dust, generally better suited to metal furniture or pieces that won’t be harmed by moisture.
We match the blast to your surface, not the other way around, because a technique that works beautifully on a wrought iron bench could ruin a soft pine cabinet in seconds.
Soda Blasting: A Popular Middle Ground
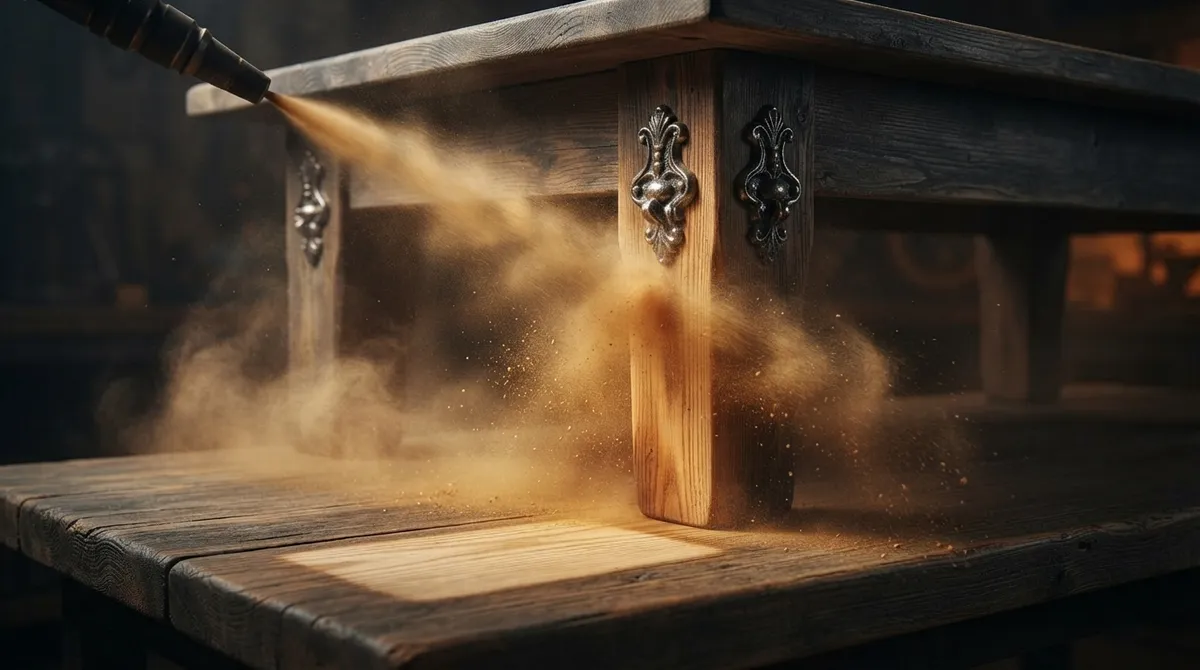
Soda blasting has become a favorite for furniture work because it strips paint and old finishes without generating much heat and without being as aggressive as traditional sandblasting media. It’s a solid choice for many wood pieces and painted furniture.
There’s a catch, though. Soda residue is alkaline, and it has to be fully rinsed or neutralized before certain stains, paints, or coatings get applied. Skip this step, and your new finish might not adhere properly, or could react with leftover residue down the line. If you want to dig deeper into how soda stacks up against other methods, our article on why soda blasting is Tampa’s gentlest cleaning fix covers it in detail.
Is Blasting Safe for Antiques and Delicate Wood
Short answer: it depends, and that’s not us dodging the question. Every piece of furniture is different. Age, wood type, joint construction, and finish all play a role in how it will respond to blasting.
Antique dealers and refinishers generally recommend a test patch first. A skilled operator will always try a small, hidden area, like the underside of a drawer or the back of a leg, before touching the visible surface. This lets them dial in the right pressure and media before committing to the whole piece.
Here’s what can go wrong if blasting isn’t handled carefully:
- Wood grain gets eroded unevenly, leaving a rippled or “furry” surface texture.
- Edges and corners get rounded off, losing that crisp, original shape.
- Veneers lift, crack, or blow through entirely since they’re often paper-thin.
- Carved details lose their sharp lines from too much pressure or the wrong angle.
- Glued joints loosen if moisture-based methods are used on porous or already-weak wood.
None of this means blasting is off the table for older or delicate furniture. It just means the process has to be slow, controlled, and handled by someone with real experience reading wood and adjusting on the fly.
The Lead Paint Question
This one’s important, especially if you’re working with furniture that could be older than the 1978 cutoff for lead-based paint in the U.S. According to the U.S. Environmental Protection Agency, abrasive blasting of painted surfaces is considered a high-dust activity, and it requires proper containment and HEPA vacuum collection when regulated painted surfaces are involved.
The U.S. Department of Housing and Urban Development goes a step further, stating that blasting is generally prohibited on lead-containing surfaces unless a HEPA-filtered local-exhaust tool is used. Some local regulations define lead paint as anything containing more than 0.5% lead by weight, though the exact threshold can vary by jurisdiction.
What does this mean for you? If your furniture piece is old and might have been painted before 1978, it’s worth asking any blasting company how they handle lead paint. A trustworthy operator will talk openly about containment, dust control, and disposal instead of brushing off the question.
Wet Versus Dry Blasting for Furniture
Dustless or wet blasting mixes water with the abrasive media to cut down on airborne dust. It’s a great option for outdoor metal furniture, like iron patio sets or aluminum chairs, especially if you’re working somewhere dust control matters, like near a pool or a neighbor’s yard.
But wood is a different story. Moisture-sensitive materials, veneers, glued joints, and porous or antique wood often don’t play well with wet methods. Water can cause swelling, staining, or glue failure, undoing the very restoration you’re trying to achieve. For most wood furniture, dry blasting with a gentle media is usually the safer bet.
| Furniture Type | Recommended Approach | Key Consideration |
|---|---|---|
| Solid wood tables and cabinets | Soda, walnut shell, or corn cob (dry) | Test patch first to protect grain |
| Antique or veneered pieces | Very gentle dry media, low pressure | High risk of veneer damage |
| Wrought iron or metal furniture | Wet/dustless blasting or standard abrasive | Good dust control, rust removal |
| Painted furniture (pre-1978) | Dry blasting with containment | Lead paint testing recommended |
| Outdoor teak or hardwood furniture | Soda or corn cob, dry | Avoid excess moisture exposure |
What a Professional Process Should Look Like
A good furniture blasting job isn’t just “point and shoot.” There’s a method to it, and it usually follows a similar sequence no matter the piece.
- Inspection: The operator examines the piece, identifies the wood or metal type, and checks the existing finish.
- Hardware removal or protection: Handles, hinges, glass, and other delicate components get removed or masked off.
- Test patch: A small, hidden area gets blasted first to confirm the right media and pressure.
- Controlled blasting: The visible surface is blasted with steady, even nozzle movement to avoid hot spots or gouges.
- Cleanup and drying: Spent media and residue get cleared away, and the surface is dried if any moisture was used.
- Prep for finishing: The piece is left clean and ready for stain, paint, oil, or clear coat.
Notice that blasting is really just one step in the bigger restoration picture. It’s the stripping and cleaning stage, not the whole makeover. You’ll still need to sand lightly in some cases, fill any gaps, and apply your chosen finish after the piece is blasted.
Questions to Ask Before Booking Furniture Blasting
Before you hire anyone for this kind of work, it helps to ask a few pointed questions. A company that knows what they’re doing will have clear, honest answers.
- Do you use dry, wet, or soda blasting, and why would you pick one for my piece?
- What media do you recommend for this specific type of wood or metal?
- How do you control dust and protect the surrounding area?
- Can you work on-site, or does the piece need to be transported?
- How do you handle spent media and any potentially hazardous paint debris?
Be a little wary of anyone who claims their process is “100% safe” or “chemical-free” for every single piece. Every substrate reacts differently, and a responsible operator will tell you that upfront instead of overselling it.
Why Mobile Blasting Makes Sense for Furniture Projects
One of the best parts about mobile blasting is convenience. Instead of loading a heavy dresser into a truck bed and hoping nothing shifts on the drive, a mobile crew brings the equipment to your driveway, garage, or shop.
We come to you, fully mobile and self-contained, which means no need for your power or water hookups. We contain the mess and protect the surrounding area, so your patio furniture project doesn’t turn into a cleanup headache for the rest of your yard. If you’re curious about how this approach compares to shop-based options, check out our breakdown of mobile rig versus local shop blasting.
For Tampa Bay homeowners tackling porch furniture, iron patio sets, or wood pieces that have seen better days, this kind of on-site service can be a real time-saver. It also fits well alongside other residential projects, like restoring wrought iron railings or cleaning up a pool deck before resurfacing.
A Quick Word on Pricing
There’s no single “average price” for furniture restoration blasting, and anyone who tells you otherwise is probably guessing. Costs depend on the size of the piece, how thick the old finish is, the type of media needed, access to the work area, containment requirements, and whether lead-safe procedures apply.
A small side table is going to cost a lot less than a full dining set or an antique wardrobe with layers of old paint. The best way to get a real number is to describe your piece and send a few photos so a blasting company can give you a project-specific estimate rather than a vague ballpark.
Bringing Your Furniture Back to Life
Furniture restoration blasting isn’t about brute force. It’s about using the right media, the right pressure, and a careful process to strip away years of grime and old finish without wrecking the character of the piece underneath. Whether it’s a wood dresser, an iron bench, or a set of porch chairs that have seen too many Florida summers, the right approach can make refinishing so much easier.
If you’ve got a piece sitting around Tampa, Clearwater, Brandon, or anywhere else in the central Florida corridor, we’d love to take a look. At Blastworx, you talk to the people doing the work, and we’re fully insured, so you can feel good about handing over that special piece. Reach out today to get a free estimate, or give us a call to chat through what your furniture needs. You can also visit us on Google — see what our customers are saying about us before you decide. We’re always happy to help bring a little life back into the pieces you love.
FAQs
Q: What is furniture restoration blasting?
A: It’s a mobile surface-prep service that uses compressed air and gentle abrasive media to strip old paint, varnish, and grime off furniture before refinishing. Think of it as a fast, thorough way to reset a piece so it’s ready for staining or a fresh coat of paint.
Q: Is soda blasting safe for antique furniture?
A: It can be, but every antique is a little different, so we always recommend a test patch first. Soda blasting is gentler than traditional sandblasting, which makes it a nice option for many older pieces, as long as the residue gets rinsed off properly afterward.
Q: Can you restore furniture on-site, or do I need to bring it somewhere?
A: We come to you, fully mobile and self-contained, so most furniture pieces can be blasted right in your driveway or garage. This cuts down on transport risks and saves you the hassle of hauling heavy or awkward items across town.
Q: Will blasting damage wood grain or delicate carvings?
A: It can if the wrong media or too much pressure is used, which is exactly why we match the blast to your surface, not the other way around. A careful operator tests an inconspicuous spot first and adjusts before touching any visible or detailed areas.
Q: What should I do after my furniture gets blasted?
A: Once the piece comes back to clean, sound material, it’s ready for the next step, whether that’s a light sanding, staining, painting, or a clear coat. We recommend letting the surface fully dry if any moisture was used, then moving forward with your chosen finish.