Key Takeaways
-
Not all antiques should be sandblasted—veneer, marquetry, gilding, and thin carvings risk permanent damage; consult a furniture conservator for historically valuable pieces before using abrasive media.
-
Always test blasting on a hidden 6×6-inch area first using the lowest effective pressure and softest media, stopping immediately if you see grain erosion, raised fibers, or rounded edges.
-
Avoid silica sand completely due to serious lung damage risks from respirable crystalline silica; use safer alternatives like soda, walnut shell, or corn cob for antique wood instead.
-
Wet or dustless blasting cuts airborne dust but introduces moisture that can seep into joints and veneer, typically requiring 24-48 hours drying time before applying any finish.
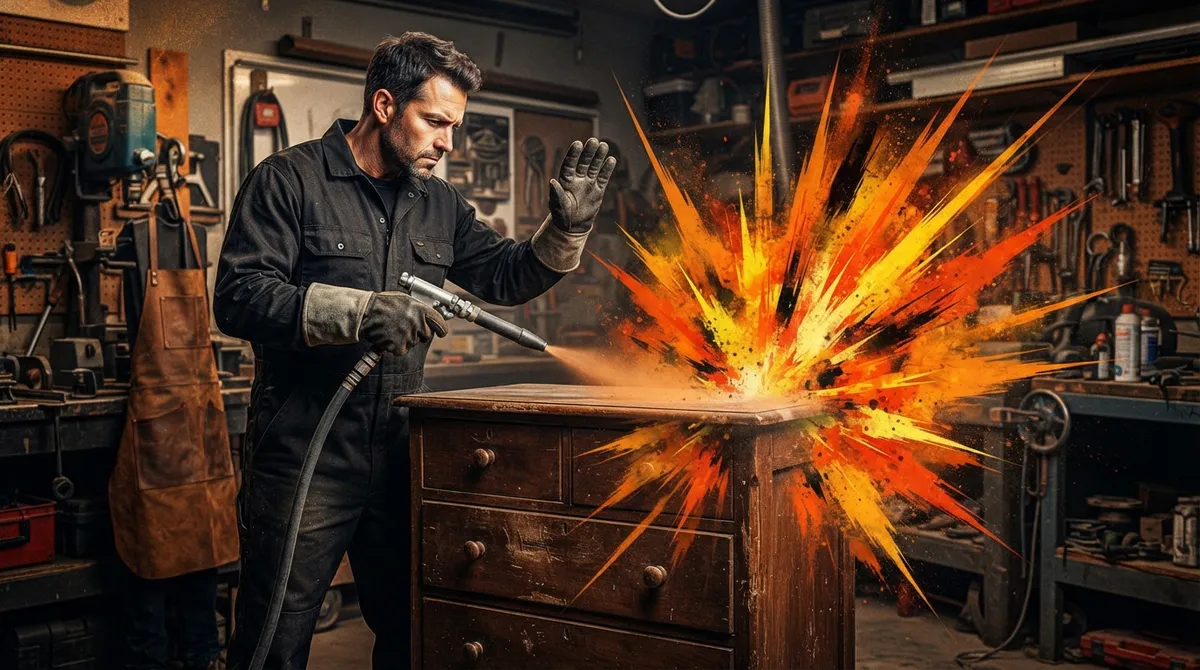
Grandma’s dresser has been sitting in your garage for three years now. You love it, but that old varnish is peeling and you’re not sure what to do next. Antique refinishing sandblasting sounds like a quick fix, but here’s the truth: this is one area where rushing in can cost you a piece you can never replace. We want to help you get it right.
At Blastworx, we’ve talked to plenty of Tampa Bay homeowners who inherited a beautiful old piece and just want it clean and ready for a fresh finish. The good news is that mobile blasting can absolutely help with certain antiques. The better news is knowing exactly when to use it, and when to step back and try something gentler. Let’s walk through six things you need to know before anyone touches that antique with abrasive media.
1. Not Every Antique Should Be Blasted
This is the big one, so we’re leading with it. Blasting works great on solid wood, metal hardware, and architectural pieces. It is not automatically safe for veneer, marquetry, gilding, thin carving, or anything with weak joints.
Antiques carry history in their surface. That patina, those tool marks, even the slightly uneven finish, they tell a story. Abrasive media can strip that story away in seconds, and there’s no putting it back. If your piece has real historic or monetary value, talk to a furniture conservator before anyone picks up a blasting nozzle.
We always tell folks the same thing: we match the blast to your surface, not the other way around. Some antiques are perfect candidates. Others need a completely different approach.
Signs Your Antique Might Be a Good Candidate
- Solid wood construction with no veneer
- Heavy old paint or coatings that need to come off metal hardware
- Robust architectural pieces like iron gates, mantels, or fixtures
- Furniture where the original finish is already gone or badly damaged
- Pieces without carved detail, inlay, or fragile joints

2. Skip Silica Sand Completely
Silica sand used to be the go-to abrasive for blasting, but it’s a serious health hazard. The Occupational Safety and Health Administration and the National Institute for Occupational Safety and Health both warn that silica sand creates fine dust that can cause lung damage when inhaled. This dust is called respirable crystalline silica, and it’s no joke.
A responsible mobile blasting contractor will never use silica sand on your antique or anywhere else. Instead, they’ll reach for safer alternatives. Understanding what is sandblasting and how different media work helps you ask the right questions before hiring anyone.
3. Choose the Right Media for Wood
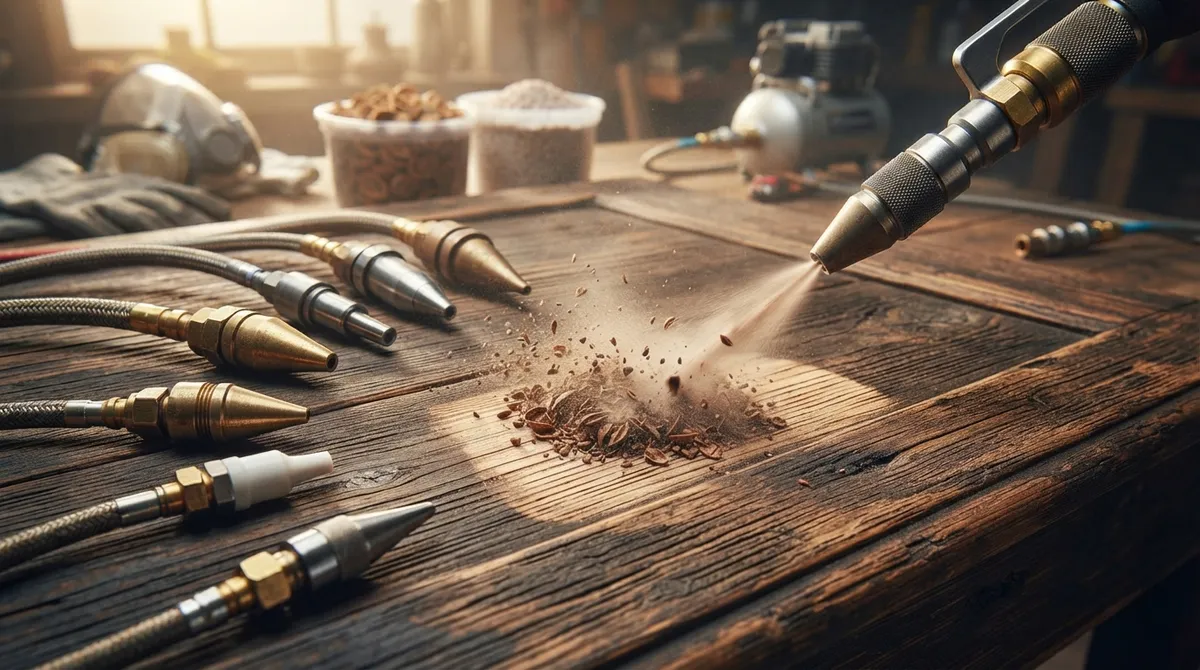
Soda, walnut shell, and corn cob are common choices for antique wood. Each one behaves differently, and none of them is automatically safe just because it’s labeled “gentle.”
Here’s a quick breakdown of what we typically see used on wood antiques:
| Media Type | Best For | Watch Out For |
|---|---|---|
| Baking Soda | Removing paint without heavy grain damage | Residue left in pores and joints, needs full cleaning |
| Walnut Shell | Solid wood, moderate coating removal | Can still round edges if pressure is too high |
| Corn Cob | Delicate surfaces needing light abrasion | Slower process, still requires testing first |
Practitioner guidance often suggests starting around 40 to 60 PSI for wood testing, but this isn’t a universal rule. Your equipment, the wood species, and the coating thickness all change what pressure actually works. This is exactly why testing matters so much, which brings us to our next point.
4. Always Test a Small Area First
Before any full-scale blasting happens, a good contractor tests a small, hidden spot. A common recommendation is testing roughly a 6-by-6-inch patch, or something similar in an inconspicuous spot on the piece.
Here’s the step-by-step process we recommend for anyone considering this on an antique:
- Identify a hidden or less visible area of the piece
- Start with the lowest effective pressure and softest media available
- Keep the nozzle moving constantly, never let it linger
- Inspect the surface under angled light after each pass
- Stop immediately if you see grain erosion, raised fibers, or rounded edges
- Check for any signs of veneer lifting or opened joints before continuing
If the test area shows even minor damage, that’s your signal to stop and consider a different method entirely. Patience here protects the piece.
5. Understand When Dustless Blasting Helps (and Its Limits)
Wet or dustless blasting mixes water with compressed air and abrasive media. It cuts down on airborne dust significantly, which is a real benefit for indoor work or occupied spaces. Many homeowners appreciate this approach for both safety and cleanup reasons.
But water introduces its own risks. Moisture can seep into joints, veneer, and end grain, causing swelling or warping down the road. Wet-blasted wood typically needs to dry completely, often 24 to 48 hours or longer, before you apply any stain, sealer, or paint. The actual drying time depends on humidity, wood porosity, and ventilation.
If you’re curious how this process compares to traditional dry blasting on wood surfaces, our article on wet sandblasting vs dry blasting breaks down which option fits different jobs. And if you want to understand blasting risks on wood in general, check out our guide on whether sandblasting damages wood.
6. Know When to Choose a Different Method Entirely
Sometimes the best answer isn’t blasting at all. Controlled hand sanding, careful scraping, heat guns, or selected chemical stripping can be safer and more precise for fragile cabinet surfaces, fine veneer, or pieces with detailed carving.
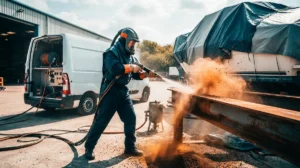
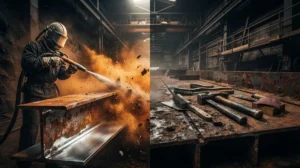
Mobile blasting tends to shine on robust solid-wood components, metal hardware, hinges, drawer pulls, and architectural antiques like iron railings or gates. If you’re restoring an old iron fence or gate alongside furniture, our piece on restoring an old iron fence covers similar principles that apply to antique ironwork.
A trustworthy contractor will tell you honestly when blasting isn’t the right call, even if that means recommending a different process. That honesty matters more than a quick sale.
Questions to Ask Before Hiring a Mobile Blasting Contractor
- What media do you recommend for my specific piece, and why?
- Will you test a small area before working on the whole surface?
- How do you handle old paint that might contain lead?
- What containment steps do you take to protect my home or yard?
- Do you have experience with antiques specifically, not just modern furniture?
Protecting Your Space and Handling Old Coatings Safely
Old furniture sometimes hides old paint with lead or other contaminants underneath newer layers. A responsible contractor assesses this before blasting begins and follows proper disposal rules for the residue collected.
Mobile blasting also means protecting everything around the piece, not just the piece itself. That includes isolating pets and family members from dust, controlling runoff if water is used, and collecting spent media properly afterward. We contain the mess and protect the surrounding area on every job, whether it’s a single dresser or a full home renovation project.
NIOSH recommends Type CE supplied-air respirators for anyone doing abrasive blasting work, since ordinary dust masks don’t offer real protection. This detail alone tells you how seriously professional operators need to take air quality, even on a small furniture job.
Why Mobile Blasting Makes Sense for Antiques
One underrated advantage of mobile blasting is that your antique never has to leave home. There’s no risk of transport damage, no waiting in a shop’s queue, and no strangers handling a piece you care about outside your sight.
We come to you, whether that’s a driveway in Tampa, a garage in Ocala, or a workshop in Fort Myers. Our rig is fully mobile and self-contained, so we don’t need your power or water hookups to get the job done right. For homeowners across our service areas, that convenience matters just as much as the quality of the work.
If you’re weighing blasting against other refinishing approaches for your home, our guide on why choose mobile sandblasting for your Tampa home covers the broader decision-making process. And our residential blasting page walks through the range of surfaces we handle around houses and yards, from fences to furniture.
Bringing It All Together
Antique refinishing sandblasting can absolutely work, but only when it’s done thoughtfully. Test first. Choose gentle media. Skip silica sand entirely. Know when to stop, and know when a different method serves the piece better than abrasive blasting ever could.
We’ve seen how much these pieces mean to people. That dresser isn’t just furniture, it’s a memory. We treat every antique with the same care we’d want for our own family heirlooms, and we’re always upfront about what blasting can and can’t safely do for your specific piece.
Curious what our neighbors around Tampa Bay have to say about working with us? Visit us on Google — see what our customers are saying about us before you make your decision. When you’re ready to talk through your antique or any other project, get a free estimate from our team, or simply give us a call to chat about what your piece needs. You talk to the people doing the work, every single time.
FAQs
Q: Can antique furniture be safely sandblasted?
A: It depends entirely on the piece. Solid wood and metal hardware can often handle careful blasting with the right media, but veneer, gilding, and fragile carved details are much more at risk. We always recommend testing a small hidden area first before committing to the whole surface.
Q: What is the best blasting media for antique wood furniture?
A: Soda, walnut shell, and corn cob are common gentle choices for wood, but no single media works for every piece. The right choice depends on your wood species, coating type, and how delicate the surface is, so a professional assessment really helps here.
Q: Is dustless blasting safer than dry blasting for antiques?
A: Dustless blasting cuts down on airborne dust nicely, which is great for indoor work. That said, it introduces water, which can seep into joints and veneer if you’re not careful, so it’s not automatically the safer choice for every antique.
Q: How long does antique wood need to dry after wet blasting?
A: Most guidance suggests at least 24 to 48 hours before applying any finish, though this varies with humidity, wood porosity, and ventilation. Rushing this step can trap moisture and cause problems down the road, so patience really pays off.
Q: Should I always hire a conservator instead of a blasting contractor?
A: For valuable or historically significant antiques, yes, a conservator should weigh in before any abrasive treatment happens. For sturdier solid-wood pieces or metal hardware without major historic value, an experienced mobile blasting contractor can often do a wonderful job.